
Holiday Photo Taking Tips & Top Photo Gear You’ll Want to Learn About – #CTAPhotoNYC
A few weeks ago I was invited to attend an intimate and super informative lunch and learn media event hosted by Techlicious and the Consumer Technology Association at NYC’s Quality Meats. Not only was lunch impressive but I also got to check out some of this year’s top cameras and photo gear. Even learned some useful holiday photo taking tips!
Disclosure: I received a gift bag for attending this media event.
As always, all thoughts and opinions are my own and I only share what I love and think you will too!
After chatting with a few of the great event sponsors (at the end of this post I’ll also tell you all about the great photo gear I got to check out from Nikon, Canon, Tiffen) it was time to sit down for a delicious meal. During our meal, we were treated to an informative presentation by photo experts who shared great photography tips and tricks to help us get the most of our photos and take better holiday pictures.
Oh, and the food was delish by the way!


With the holidays quickly approaching, soon we’ll all be reaching for our cameras in the hopes of capturing every magical holiday moment. To help you get holiday ready, today I’m sharing some great photo tips I learned at this event. These will help you take your best holiday photos yet! Here are a few of the great holiday photo taking tips shared by photo experts at the Techlicious #CTAPhotoNYC Event. I think you too will find these photo tips and tricks super useful in capturing some great photos this holiday season!
Holiday Photo Taking Tips for Better Pictures
General photo taking tips
- Use Burst Mode to ensure you get the shot. Burst Mode enables you to take multiple shots with one press of the shutter button. Start shooting when you anticipate the action and keep going.
- Use Sports mode to stop action. Sports Mode is designed to help you capture a moving object. The color will be more vibrant than if you shoot in other modes and bring the action to life, though, that it’s not as good a capturing true-to-life skin tones.
Low-Light Photo-Taking Tips
- Raise the ISO Level. Raising the ISO setting makes your camera sensor more sensitive to light. The more sensitive it is, the faster the camera can take a photo, which will reduce the amount of blur caused by camera shake. One caveat: If you push the ISO number up too high, you’ll start seeing noise, those grainy-looking imperfections you see most easily in solid-colored areas. So you’ll want to take a few shots to see which setting gives you the best balance between reducing blur without too much noise.
- Use HDR mode for composed shots. Many cameras have a shooting mode called HDR, for high dynamic range. Basically, in this mode, your camera takes two or more shots at different exposures and then combines them so both the light and dark areas of your shot are properly exposed. If there’s any movement, though, the shot will be blurry.
- Use a tripod. One reason why so many low-light shots don’t come out well is that it’s really hard to hold a camera or phone still long enough to take a crisp-looking picture. Using a tripod takes the shake factor out of the equation. Also, try using the camera’s self-timer mode to avoid the movement that inevitably occurs when you press the shutter button.
- Use a fast lens. A fast lens will let more light through so you can take your pictures faster, reducing the potential for blur. You can tell how fast a lens is by looking at the maximum aperture (the shutter behind the lens), which is called the “f-stop” and notated as “f/X.X”. The lower the number, the wider the aperture and the more light the lens will let in. A good camera choice will come in at f/2.8 or lower.
Tips for taking better holiday portraits
- Use Portrait Mode for pictures that focus on people. You’ll find you’re able to capture better skin tones and usually there’s a shorter depth of field so the background is slightly blurred to put emphasis on the person.
- Use a telephoto lens or change your aperture setting to highlight your subject. If you have an interchangeable lens camera, use a telephoto lens to isolate the subject. The lens’s shorter depth of field will blur the background a bit, making the person or pet pop in the image. You can also lower your f-stop to increase the camera’s aperture, giving a similar effect.
- Use a flash on sunny days (yes, really!). Faces often look dark in bright scenes because the camera adjusts it exposure to the brightness around your subject. You can have your subject face into the sun for more light, but then you’ll wonder why everyone is always squinting in your photos. Instead, have them face away from the sun and use the flash to brighten their faces without the squint.
- Use a diffuse light source to reduce harsh shadows. Unless you’re going for a dramatic black-and-white character shot, it’s usually best to find a diffuse light source to soften the shadows. Blinds or sheer curtains are particularly good at creating a diffuse light source to eliminate harsh shadows, so sit your subject near a window with the blinds closed for better lighting.
- Get down to eye level when shooting kids and pets. When shooting kids and pets, get down to their level for a more natural photo with better scale.
[Tweet “Get holiday ready –> #PhotoTips + #PhotoGear you’ll want to learn about! #CTAPhotoNYC”]
Tips for taking holiday scenes
- Use a wide-angle lens to get the whole scene. Capturing the entire holiday crowd can be a challenge, especially if you’re in a small space. And you wouldn’t want Aunt Edna to be left out of the shot. A wide-angle lens will, as its name suggest, capture a wider angle, letting you get the entire extended family into your photo. This lens field of view is referenced as a “35mm equivalent focal length”, where smaller numbers mean a wider angle. For true wide-angle shots, look for 28mm or below. One important additional benefit of wide-angle lenses is that they have the largest depth of field (unlike telephoto lenses, which have a short depth of field), so they keep more of the scene in focus from near to far and the kids in the front row will be just as in-focus as the parents behind them.
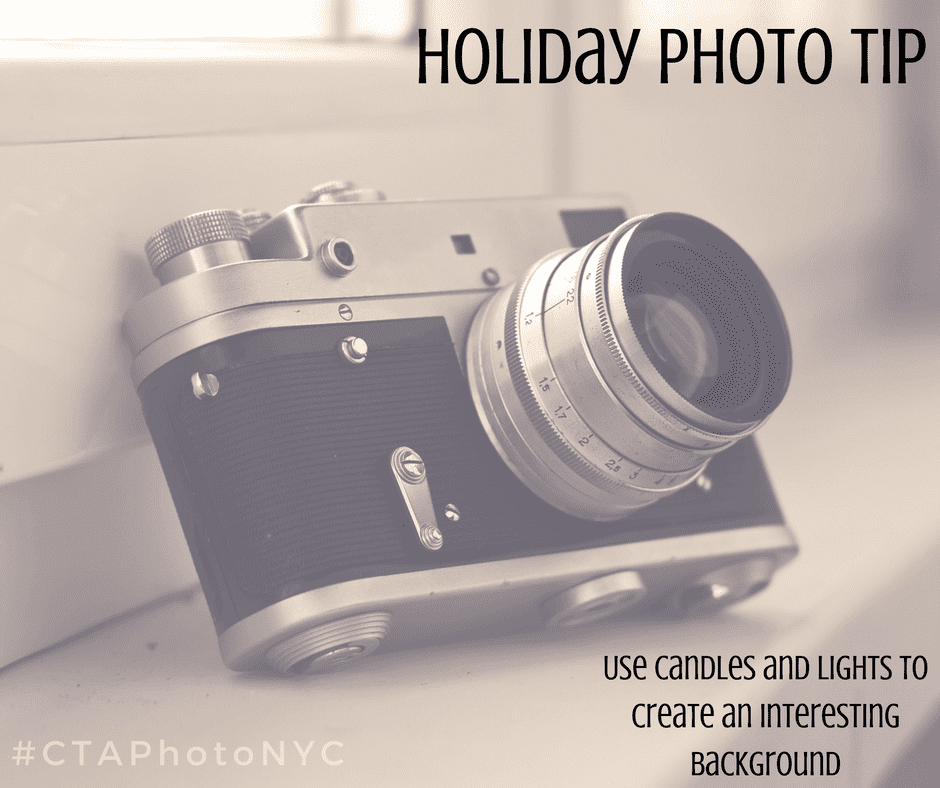
- Use candles and lights for an interesting background. Out-of-focus lights, whether they’re tree lights or candles can make an interesting background. Make sure you use a low f-stop (e.g., f/2.8, f/1.4) or telephoto zoom to make your background blur.
- Use Night Portrait Mode to capture a person and the background scene at night. If you want to capture a person with holiday lights behind them, you’ll need to expose for both the person and the background. The Night Portrait Mode is specifically designed to perform this task using both the flash and a slow shutter speed to pull in more details from the scene.
- Use Exposure Compensation to make your snow whiter and your skies blacker. To make snow look whiter, use positive compensation to increase exposure, i.e. overexpose the image. For nighttime scenes, underexpose the image for inky black skies. Look for the exposure compensation option on your camera. It’s usually a +/- button or icon.
What I saw at #CTAPhotoNYC
Now that we’re ready to take our best holiday photos yet, I thought I’d also share with you a few of the great photo equipment options I learned about at this event. I’m currently considering a new camera myself. I think any of the ones listed below would be great options! However, I’m leaning towards one of the lighter, more compact models because I’m in need of an easy to carry lightweight travel camera. Are you on the look out for a new camera too?
I also think any of the options listed below would make a great gift for the photographer in your life this holiday season. Continue reading because you’ll want to learn about these!
Top Photo Gear for the Holidays
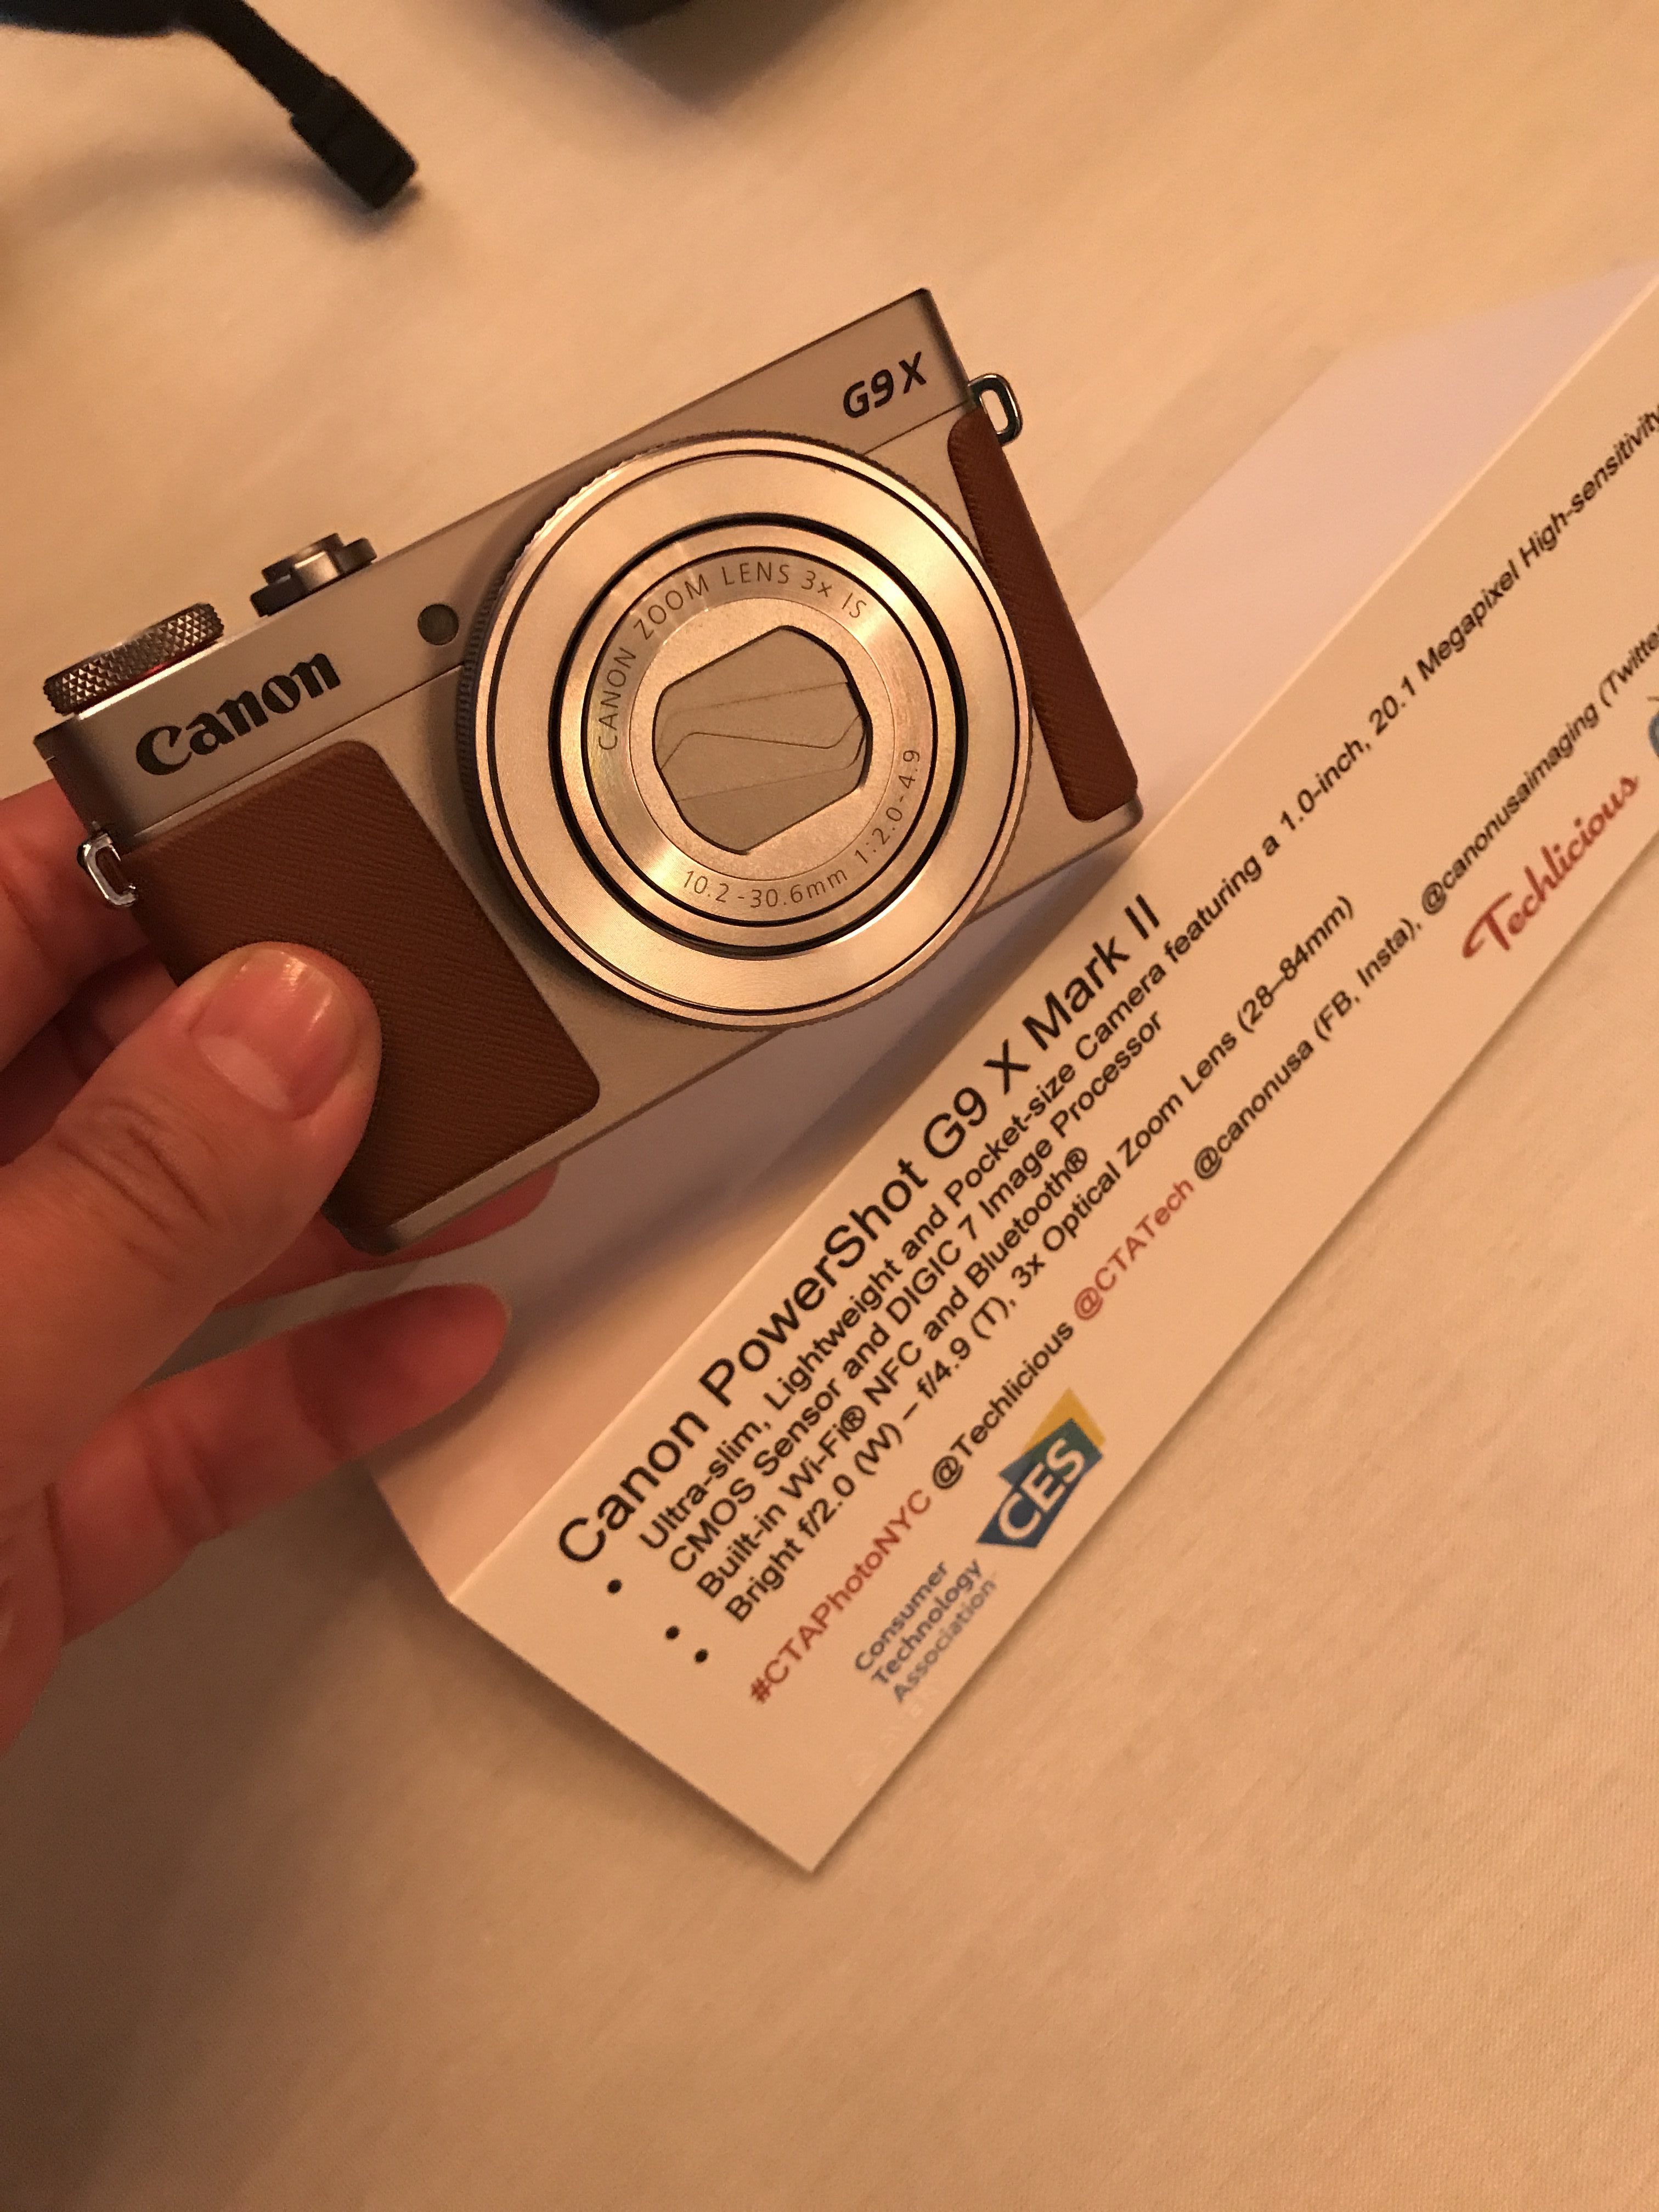
Canon PowerShot G9 X Mark II
Beauty and style outside. Advanced technology inside. Whether you’re snapping an unforgettable moment on the go or recording an epic video with your friends, the PowerShot G9 X Mark II camera combines an ultra-slim design with high-performing features for incredible image quality and easy portability. Packing a powerful 1.0-inch, 20.1 Megapixel CMOS sensor into a pocket-friendly size, it’s powered by the DIGIC 7 Image Processor for fast operation and features built-in Bluetooth® connectivity for easy sharing. With the PowerShot G9 X Mark II, it’s easy to capture the precious times of your life in a stylishly stunning way. Price: $449.99
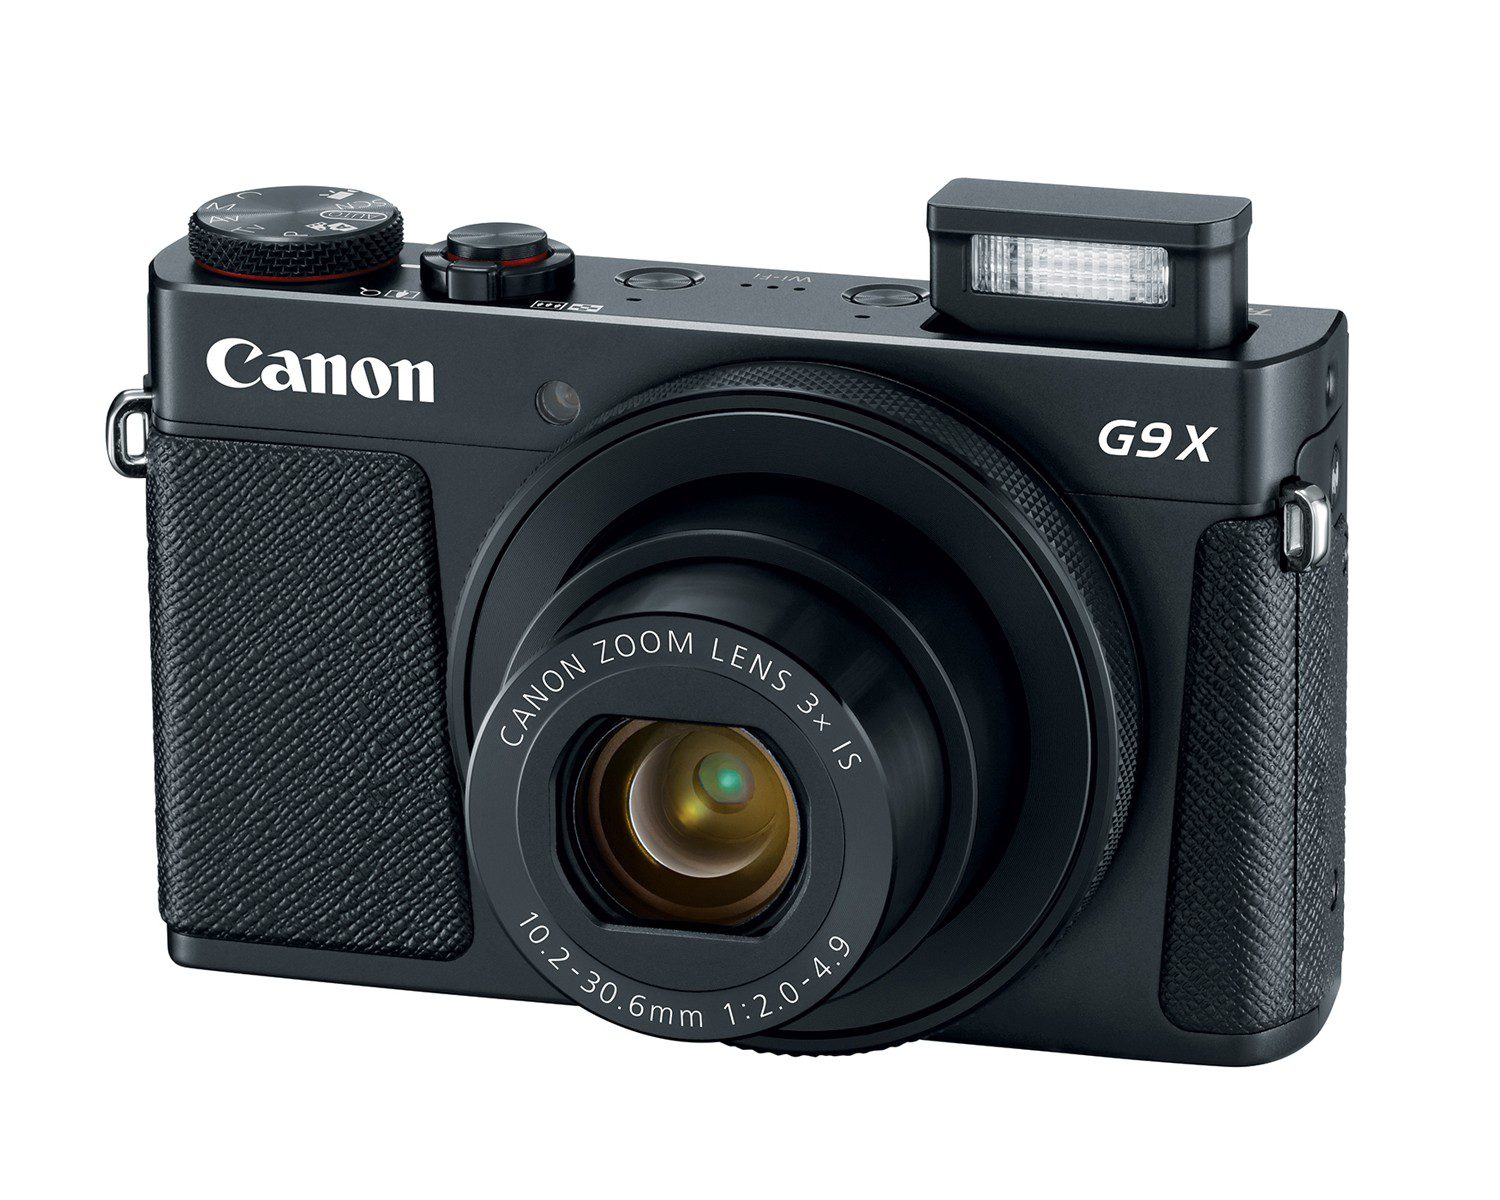
- Ultra-slim, Lightweight and Pocket-size Camera featuring a 1.0-inch, 20.1 Megapixel High-sensitivity CMOS Sensor and DIGIC 7 Image Processor
- Built-in Wi-Fi® NFC and Bluetooth®
- Bright f/2.0 (W) – f/4.9 (T), 3x Optical Zoom Lens (28–84mm)
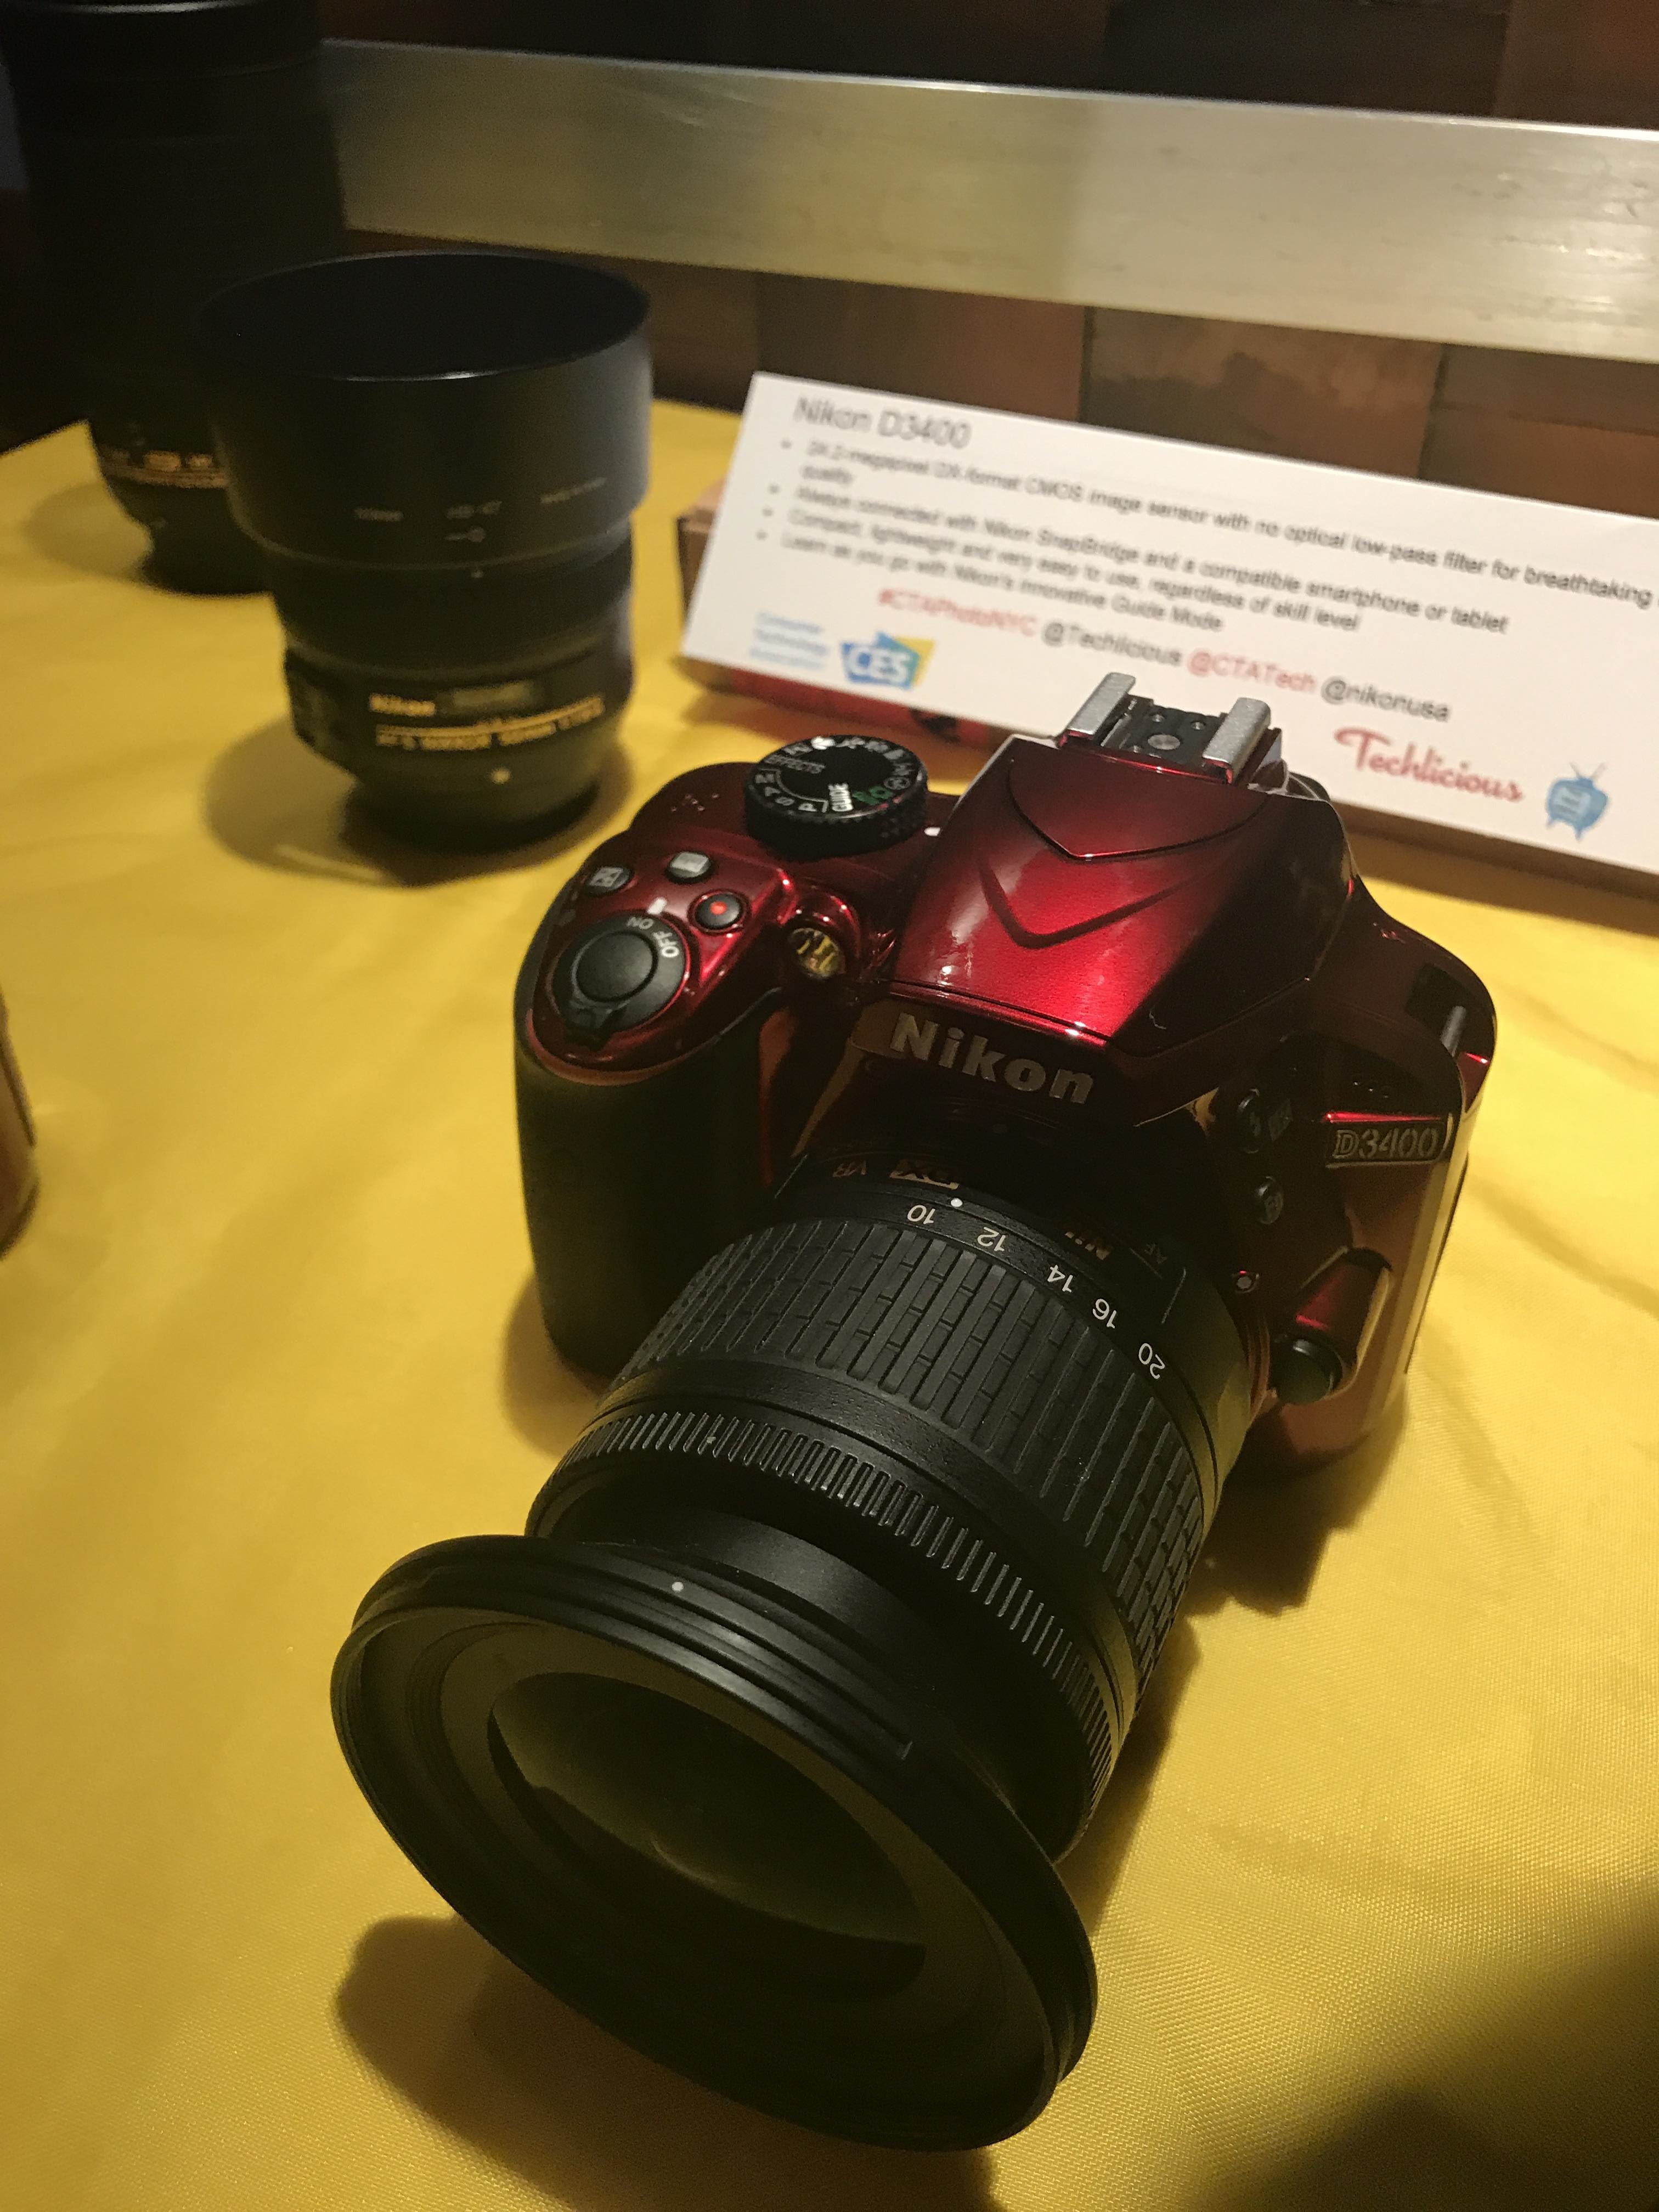
Nikon D3400
Photos and videos captured with the D3400 and a superb NIKKOR lens are as vibrant and lifelike as the moments they preserve. Shoot in extremely low light without a problem. Freeze fast-action in its tracks. Create portraits with rich, natural skin tones and beautifully blurred backgrounds. The photos you share will amaze everyone—even yourself. Price: Starts at $499.95
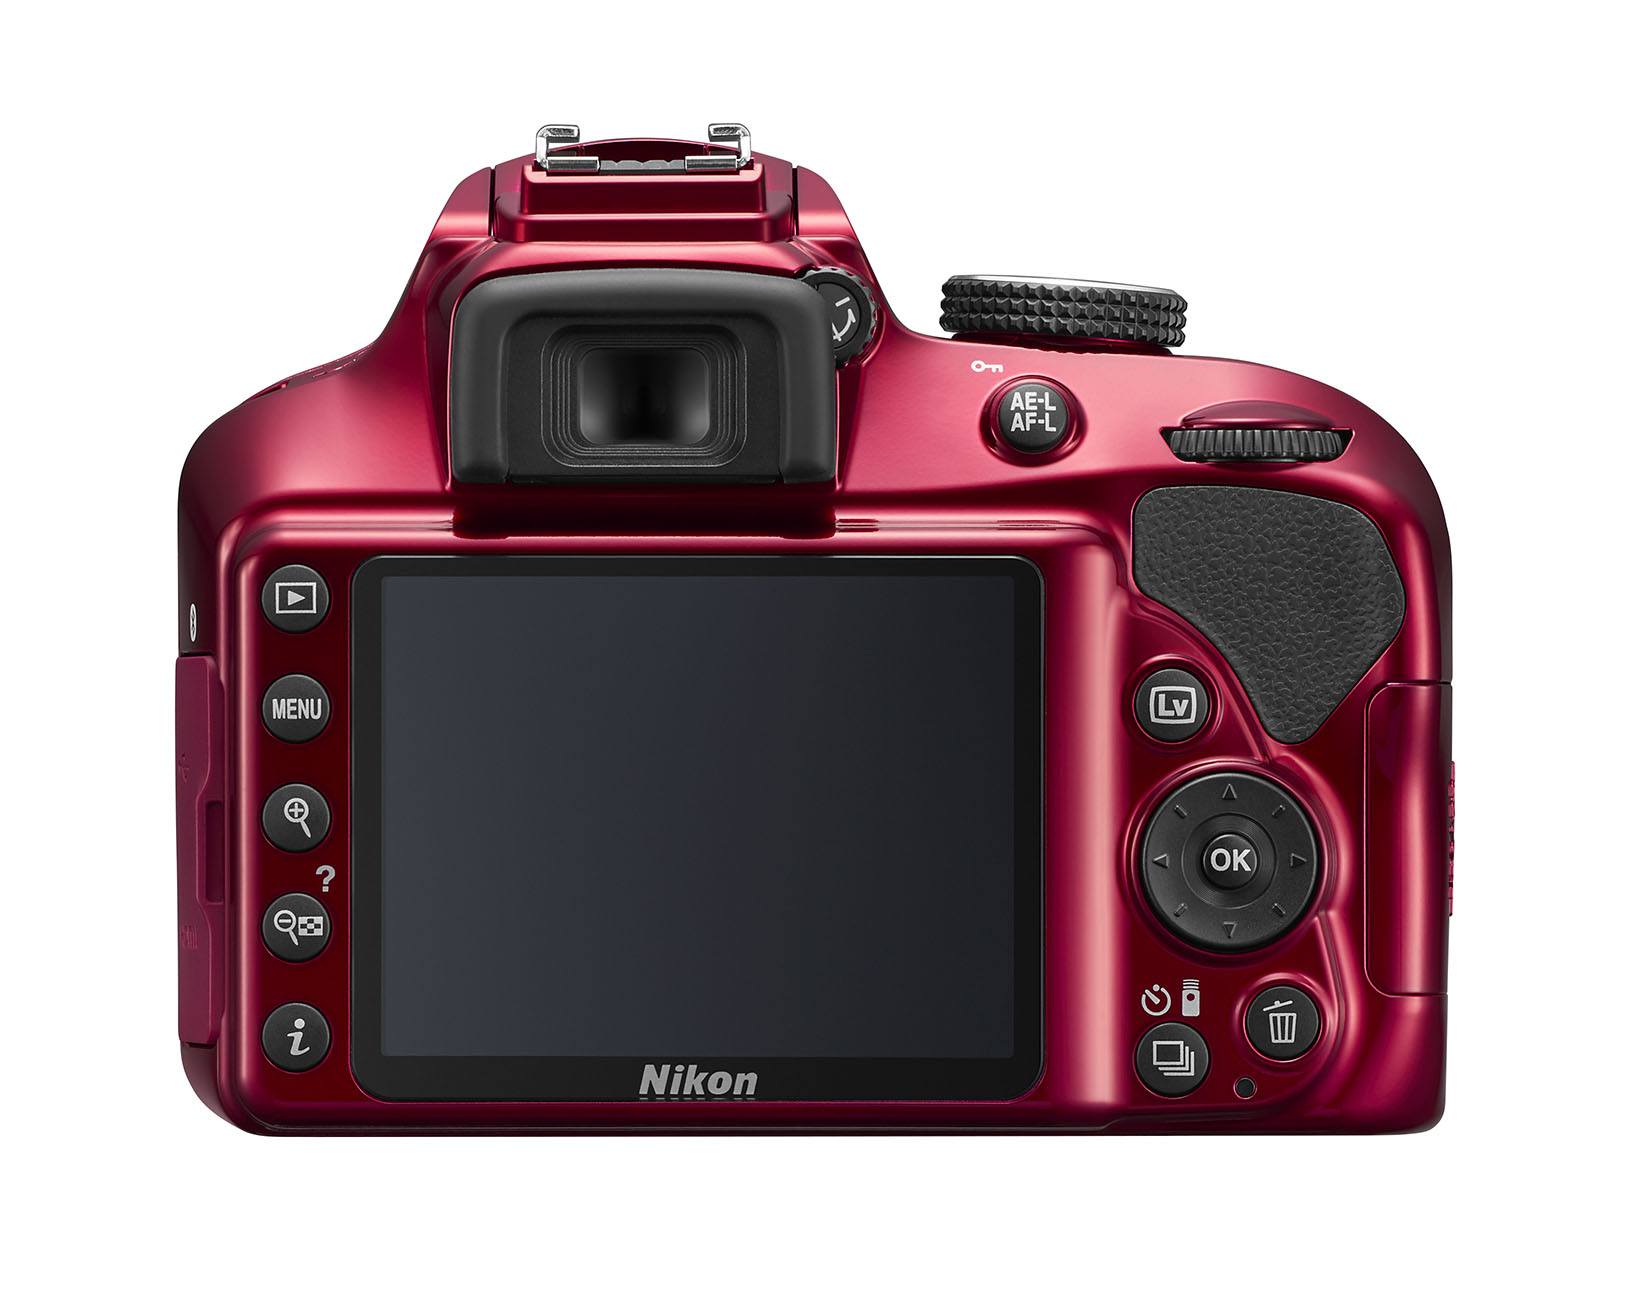
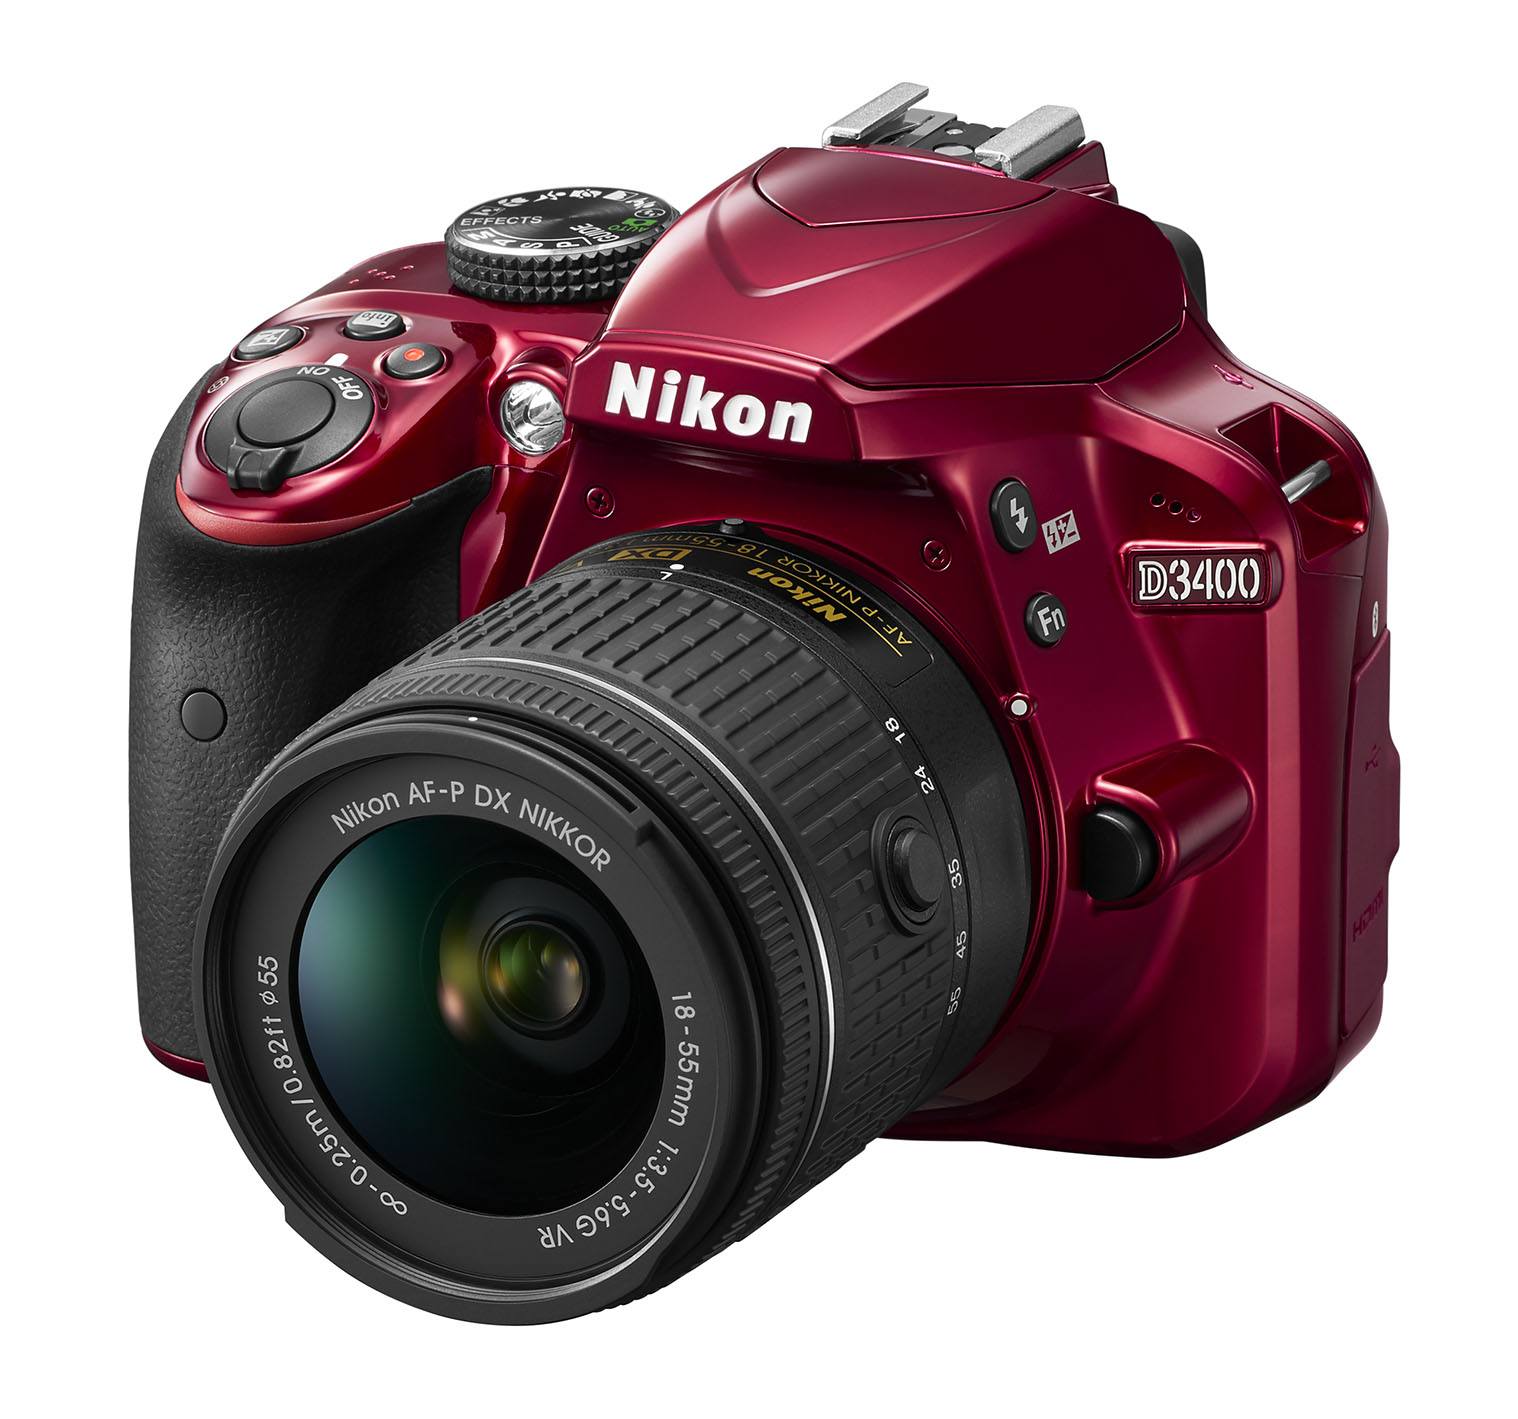
- 24.2-megapixel DX-format CMOS image sensor with no optical low-pass filter for breathtaking image quality
- Always connected with Nikon SnapBridge and a compatible smartphone or tablet
- Compact, lightweight and very easy to use, regardless of skill level
- Learn as you go with Nikon’s innovative Guide Mode
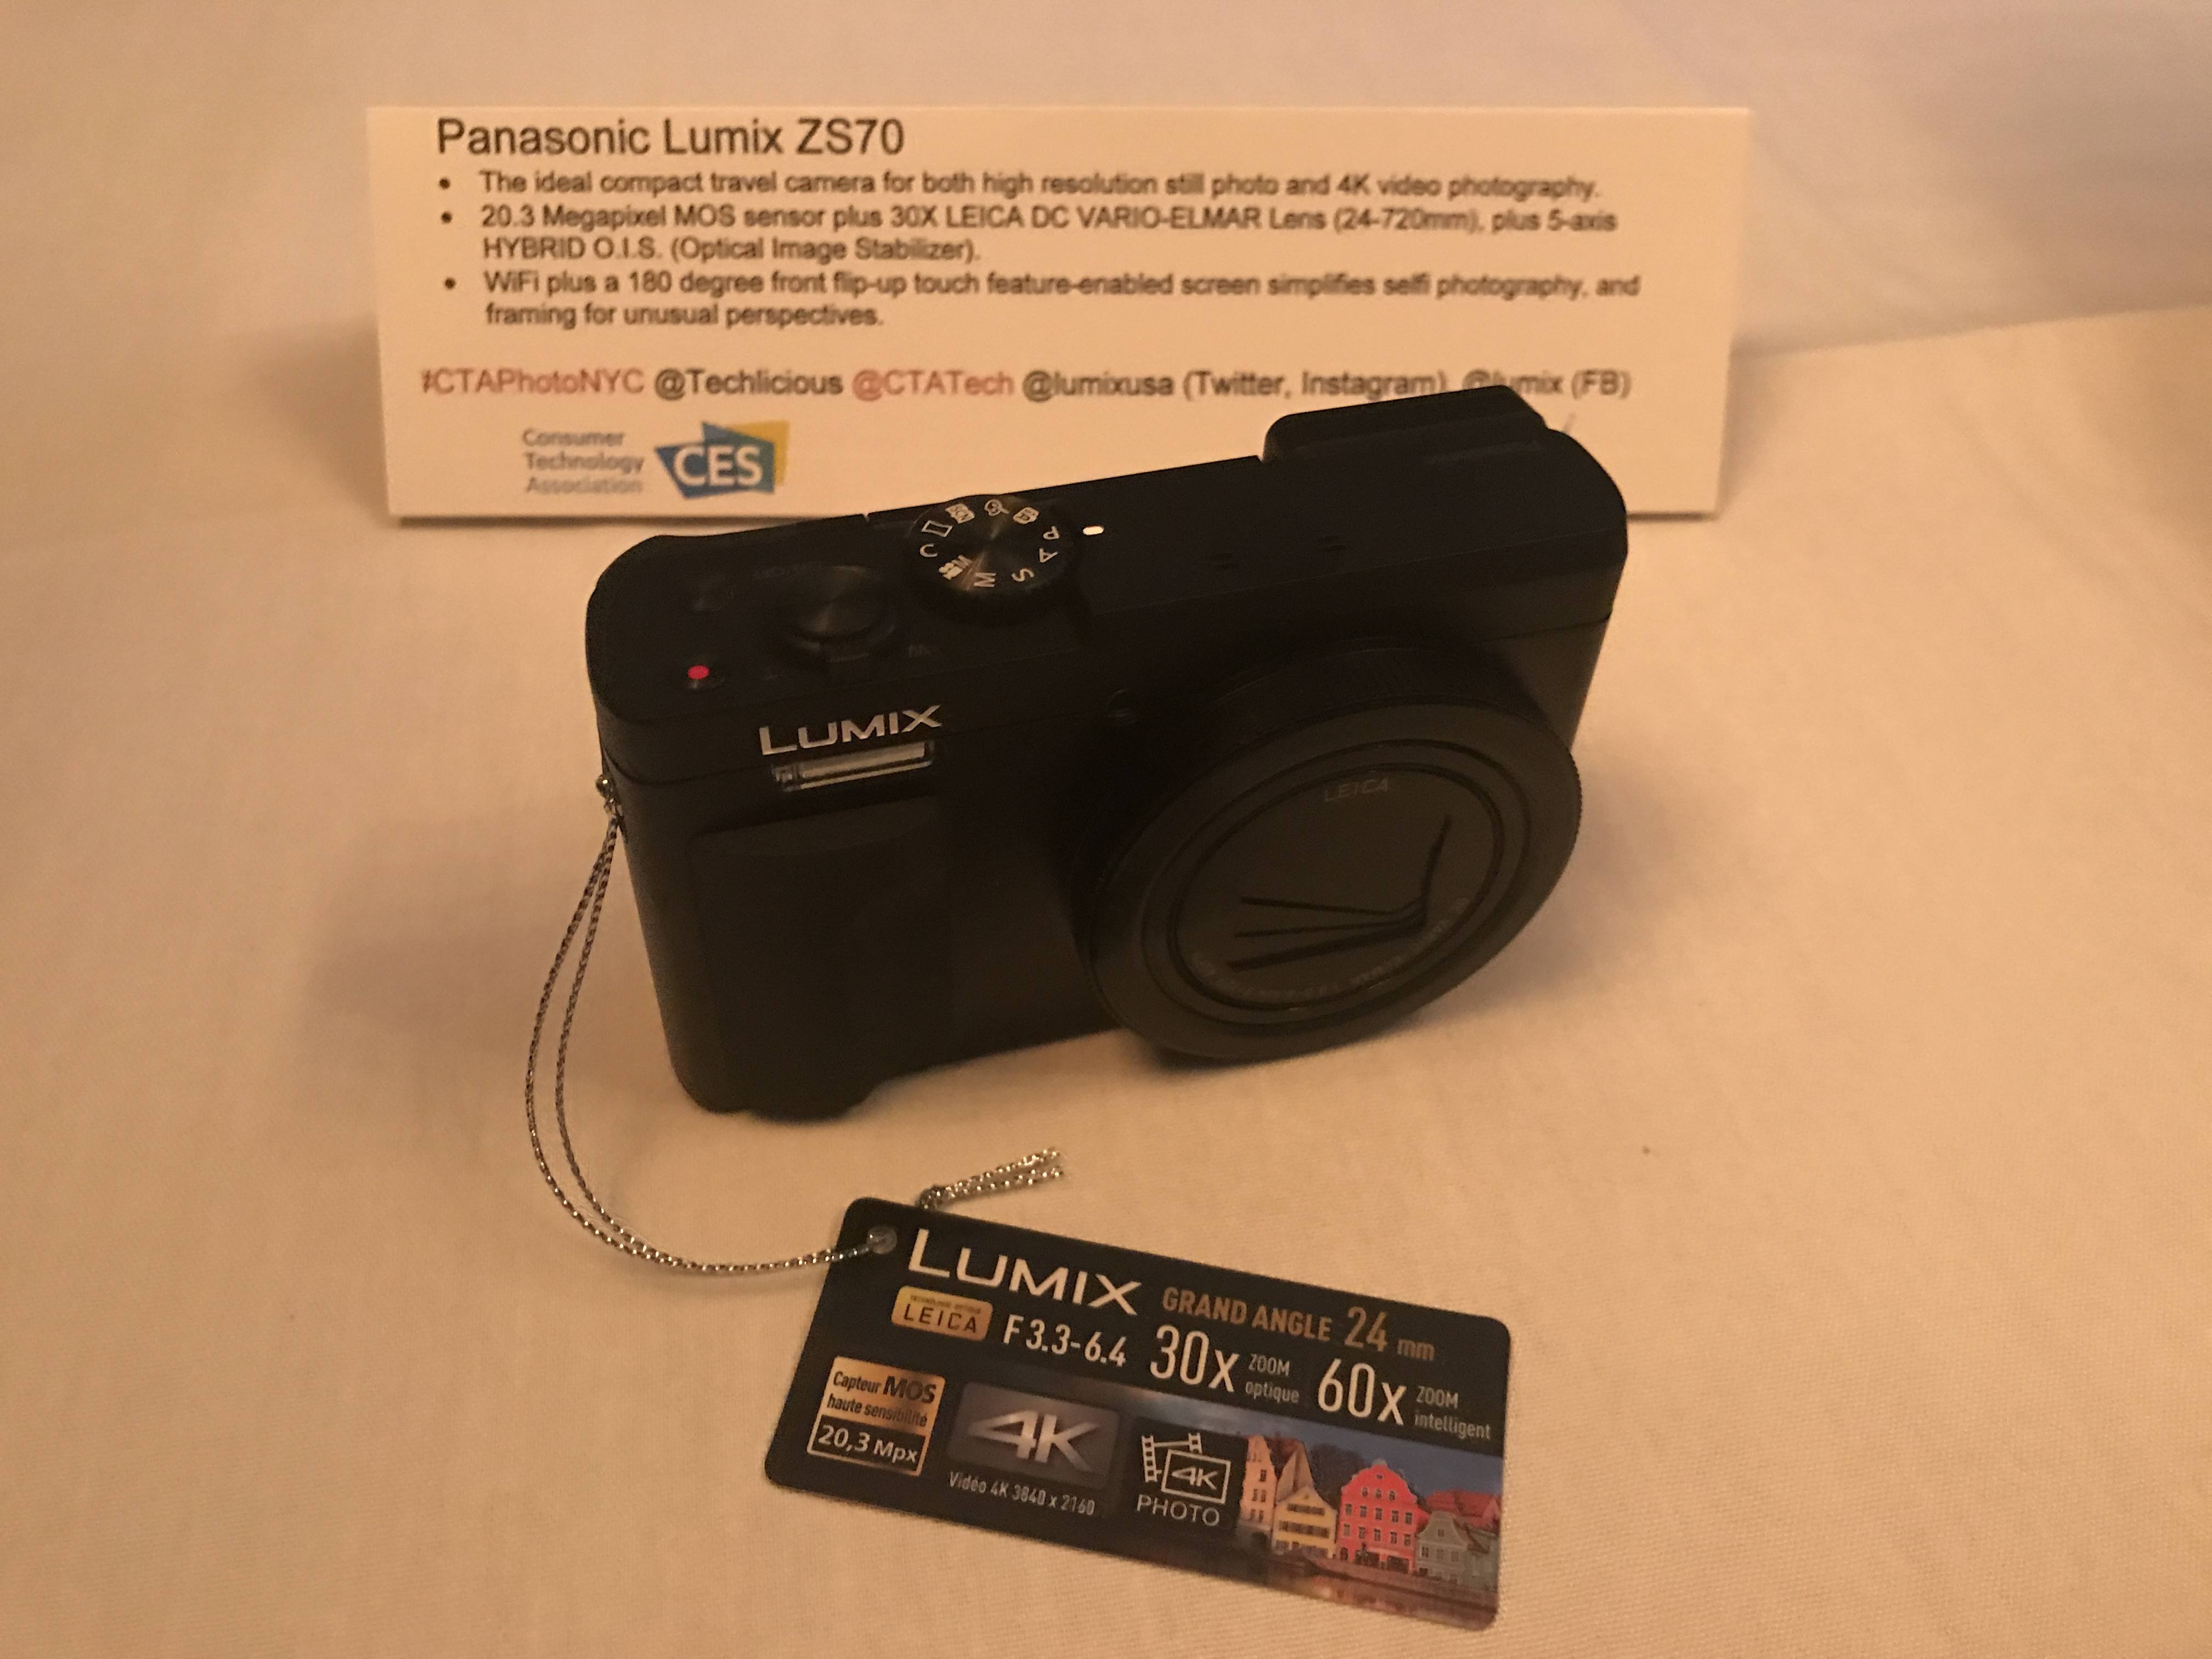
Panasonic Lumix ZS70
From sweeping panoramas and natural wonders to architecture and the simple smile of a child, this powerful, pocket-sized camera captures all the sights, scenes and emotions of your travels. The LUMIX ZS70 does it all in photos and videos, with vivid colors and details, just the way you remember them. Price: $449.99
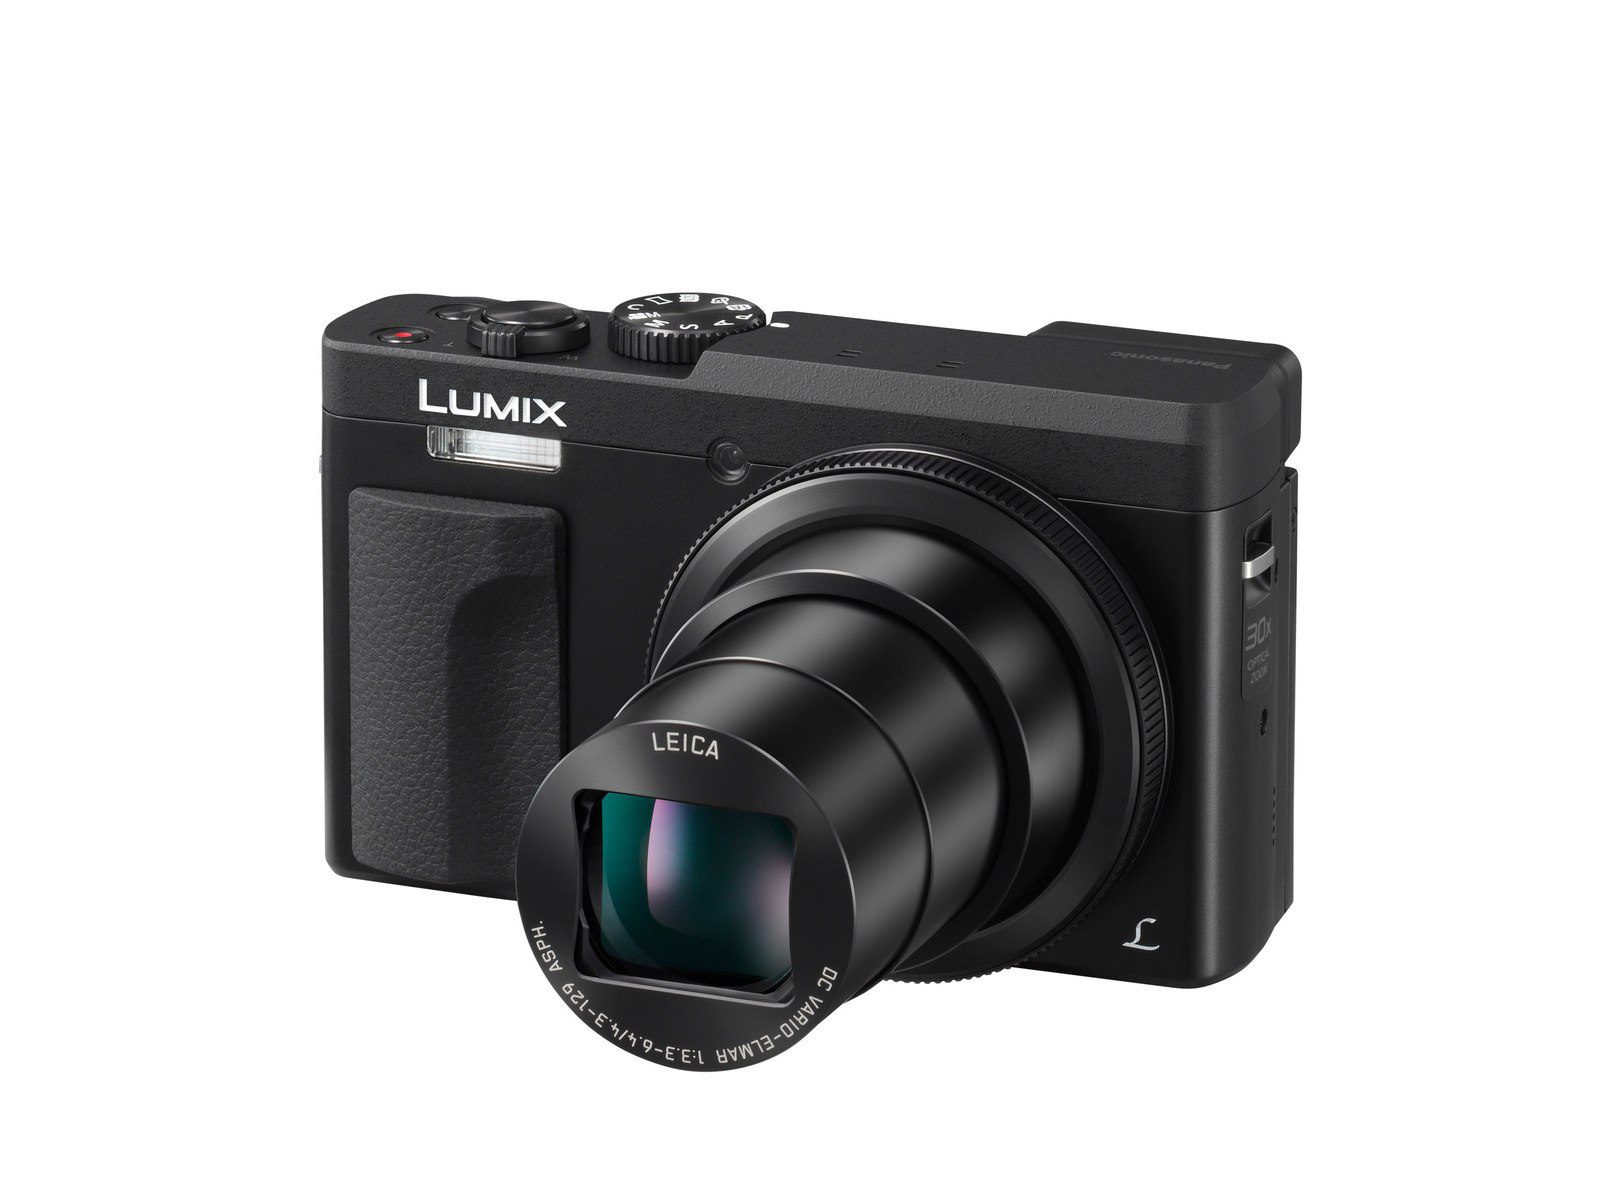
- The ideal compact travel camera for both high resolution still photo and 4K video photography.
- 20.3 Megapixel MOS sensor plus 30X LEICA DC VARIO-ELMAR Lens (24-720mm), plus 5-axis HYBRID O.I.S. (Optical Image Stabilizer).
- WiFi plus a 180-degree front flip-up touch feature-enabled screen simplifies selfie photography and framing for unusual perspectives.
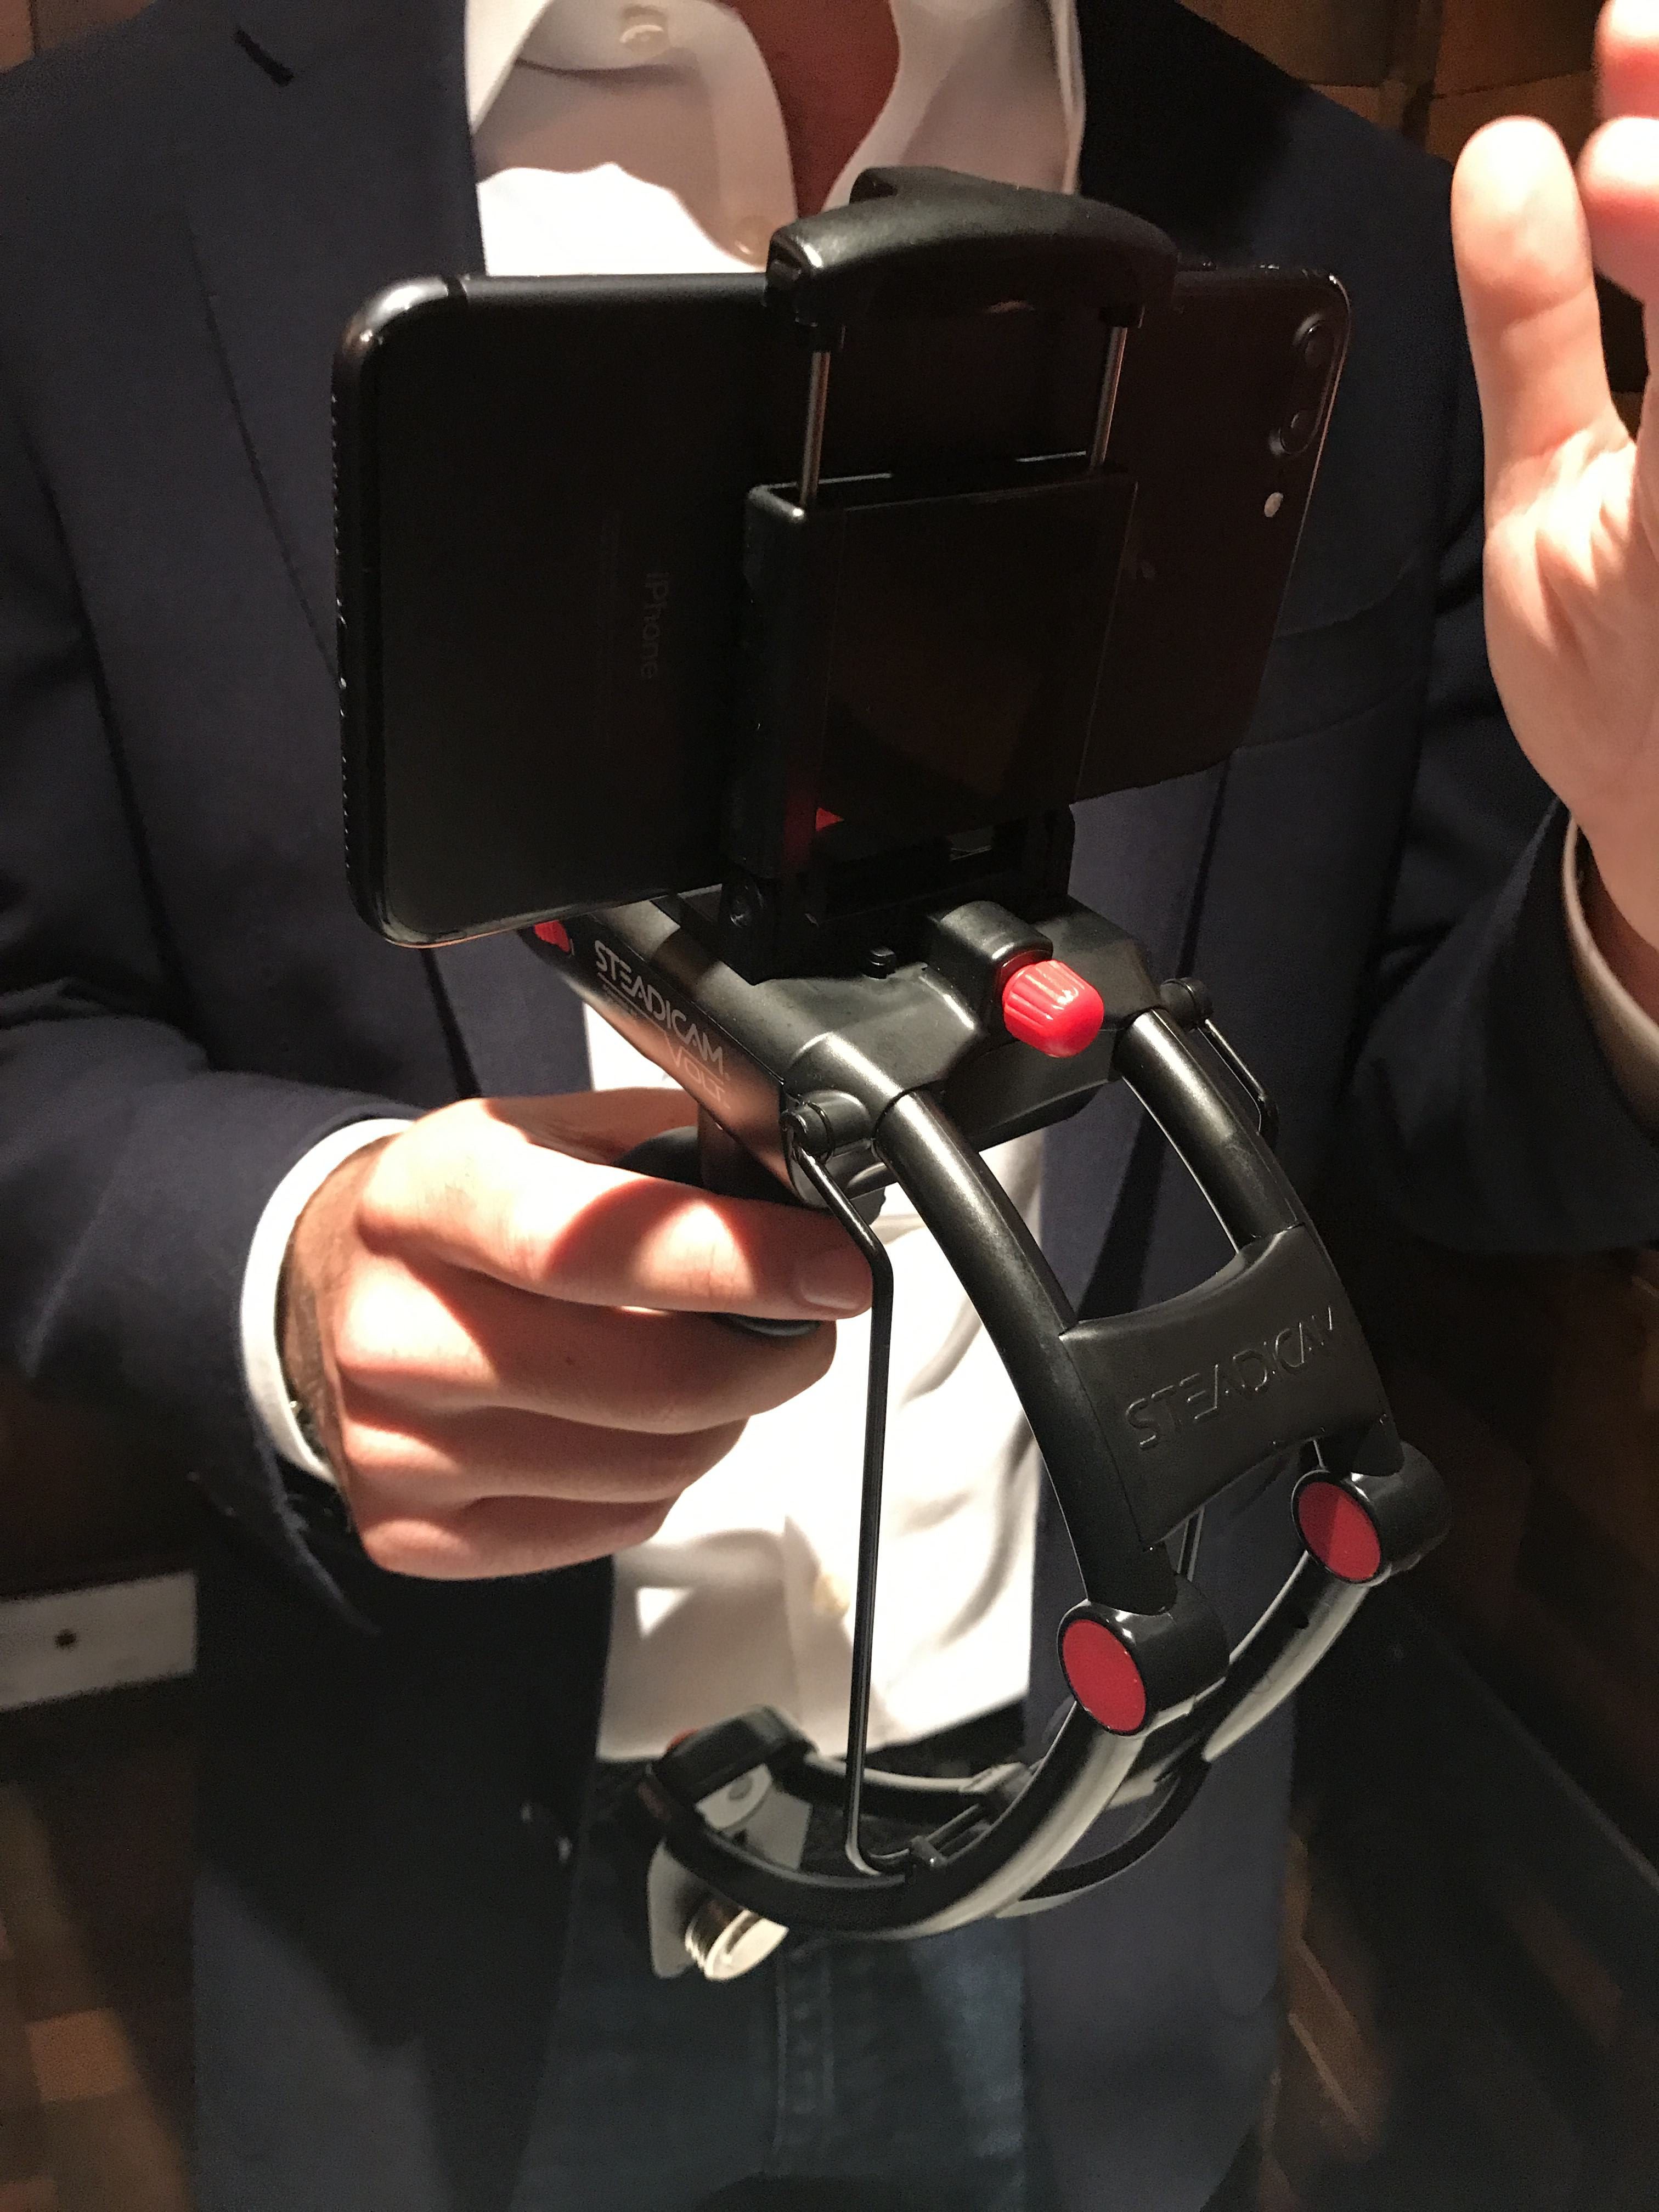
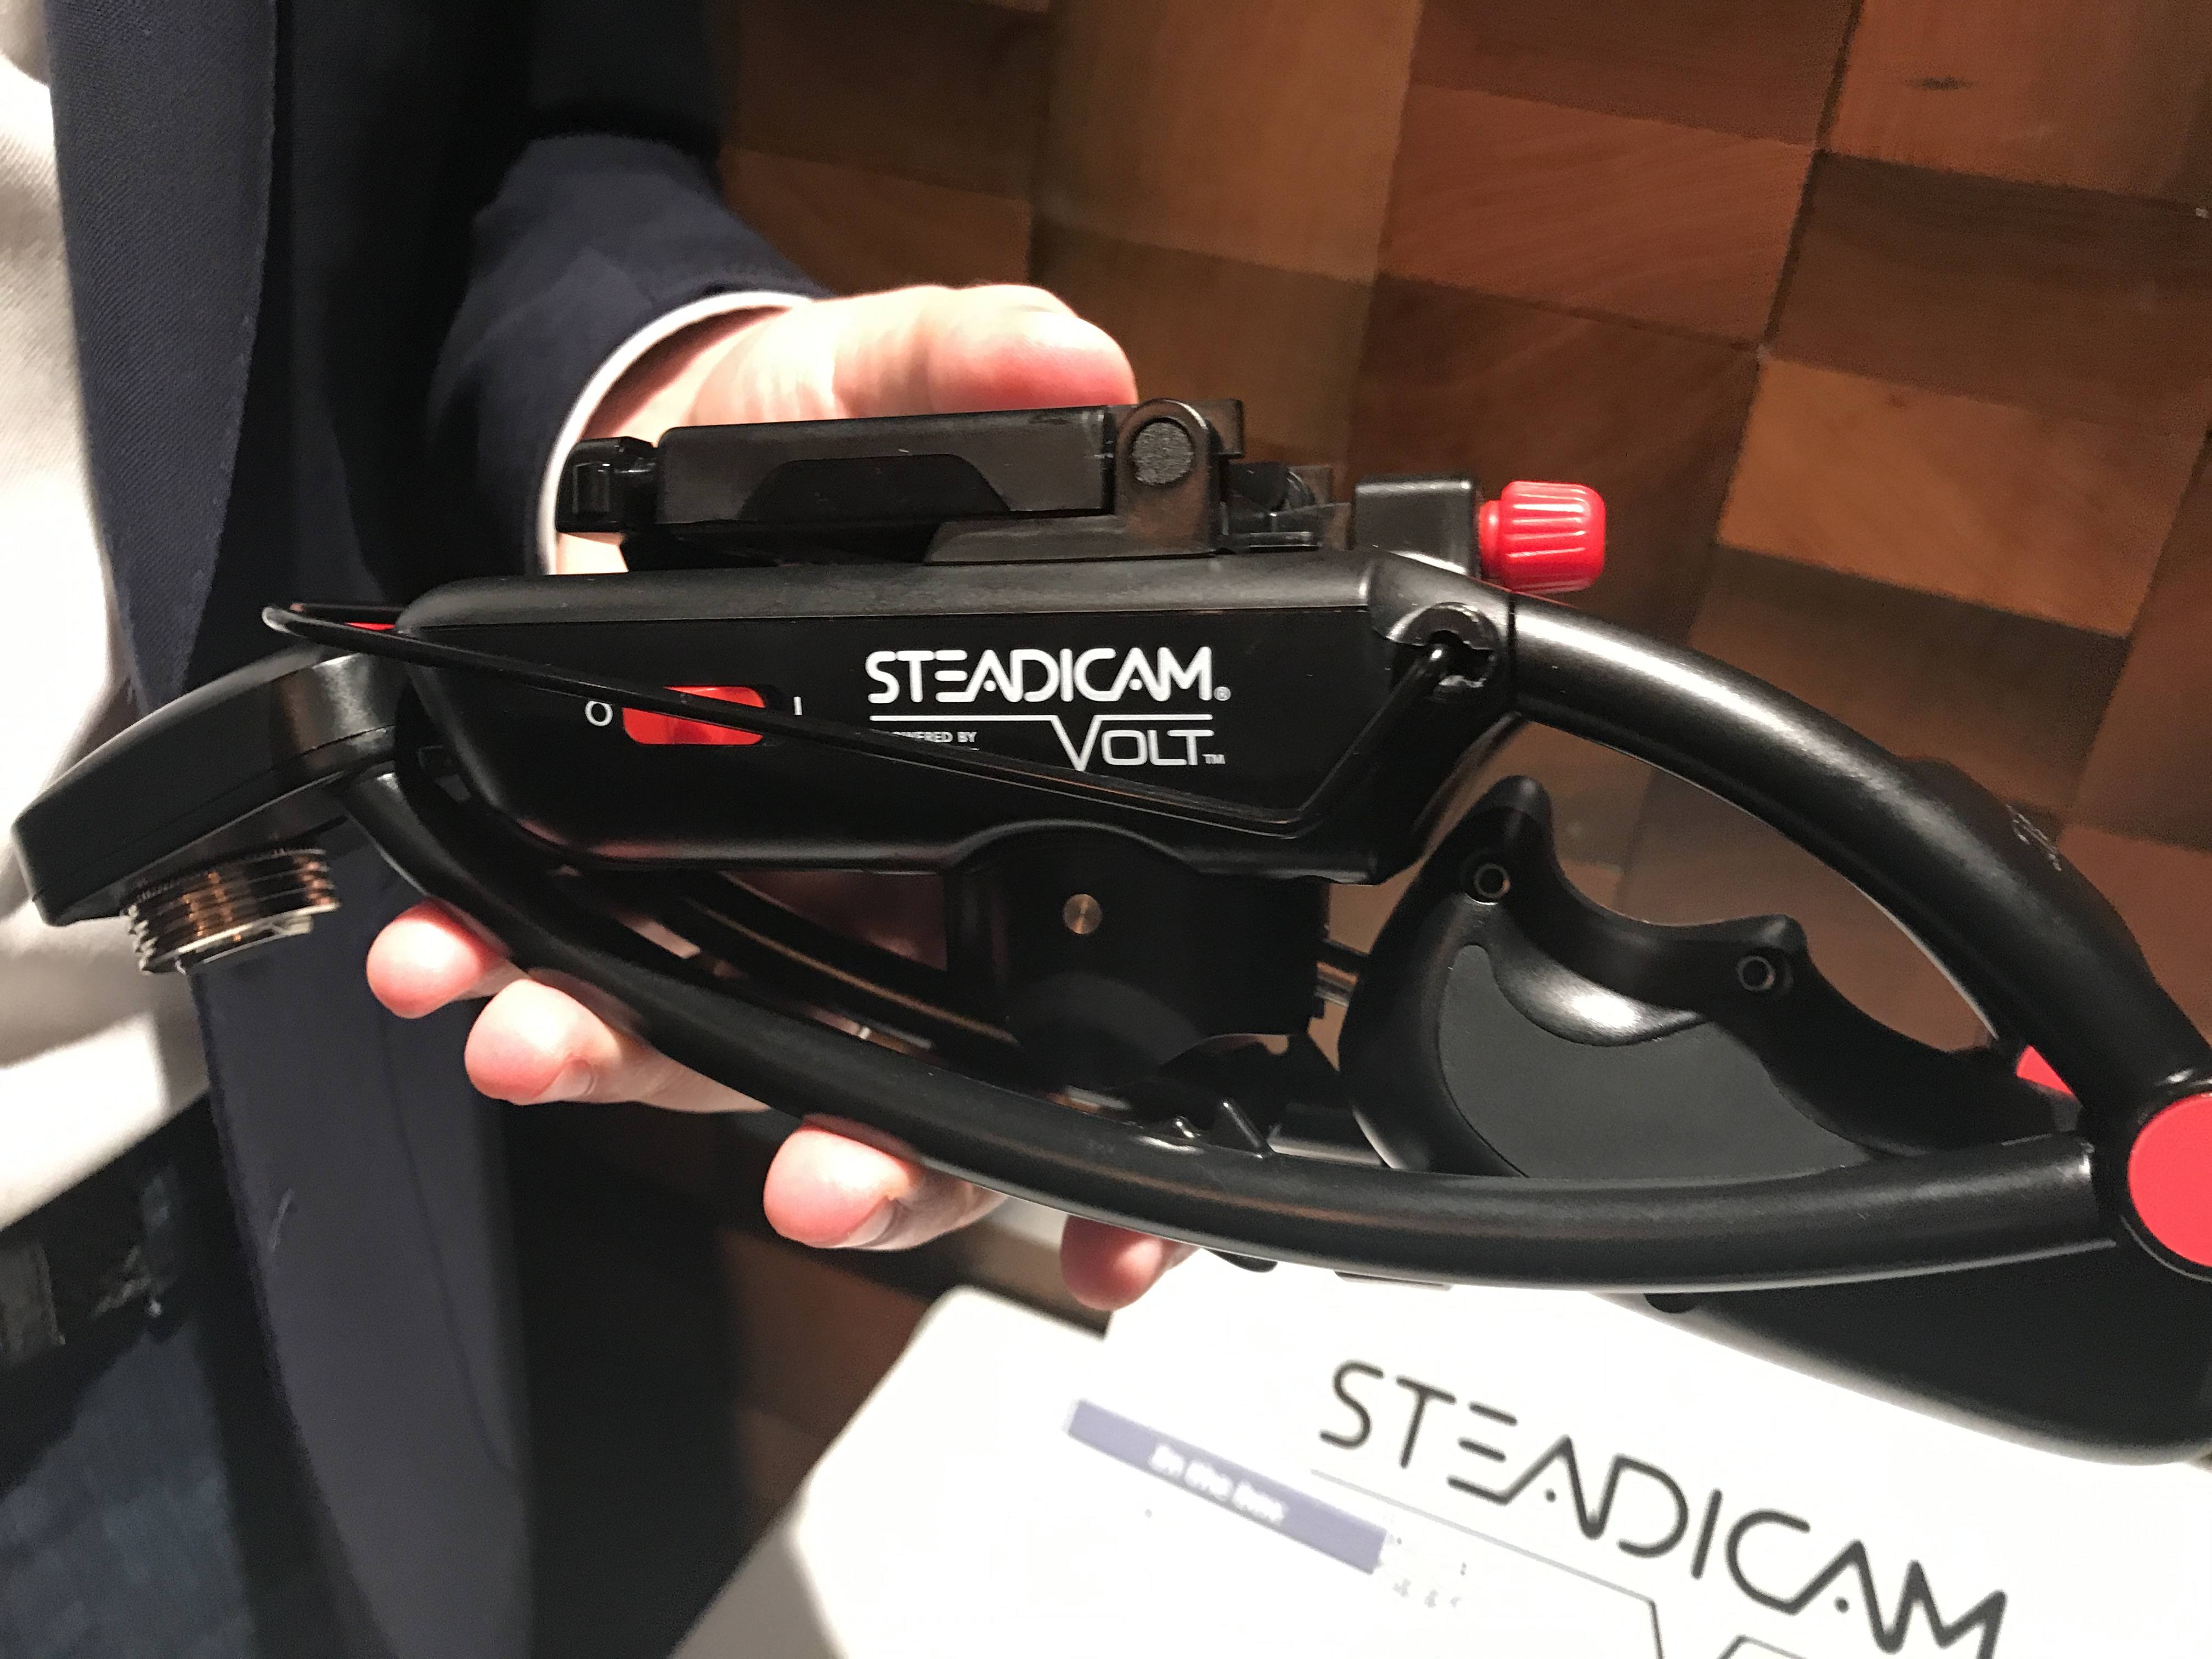
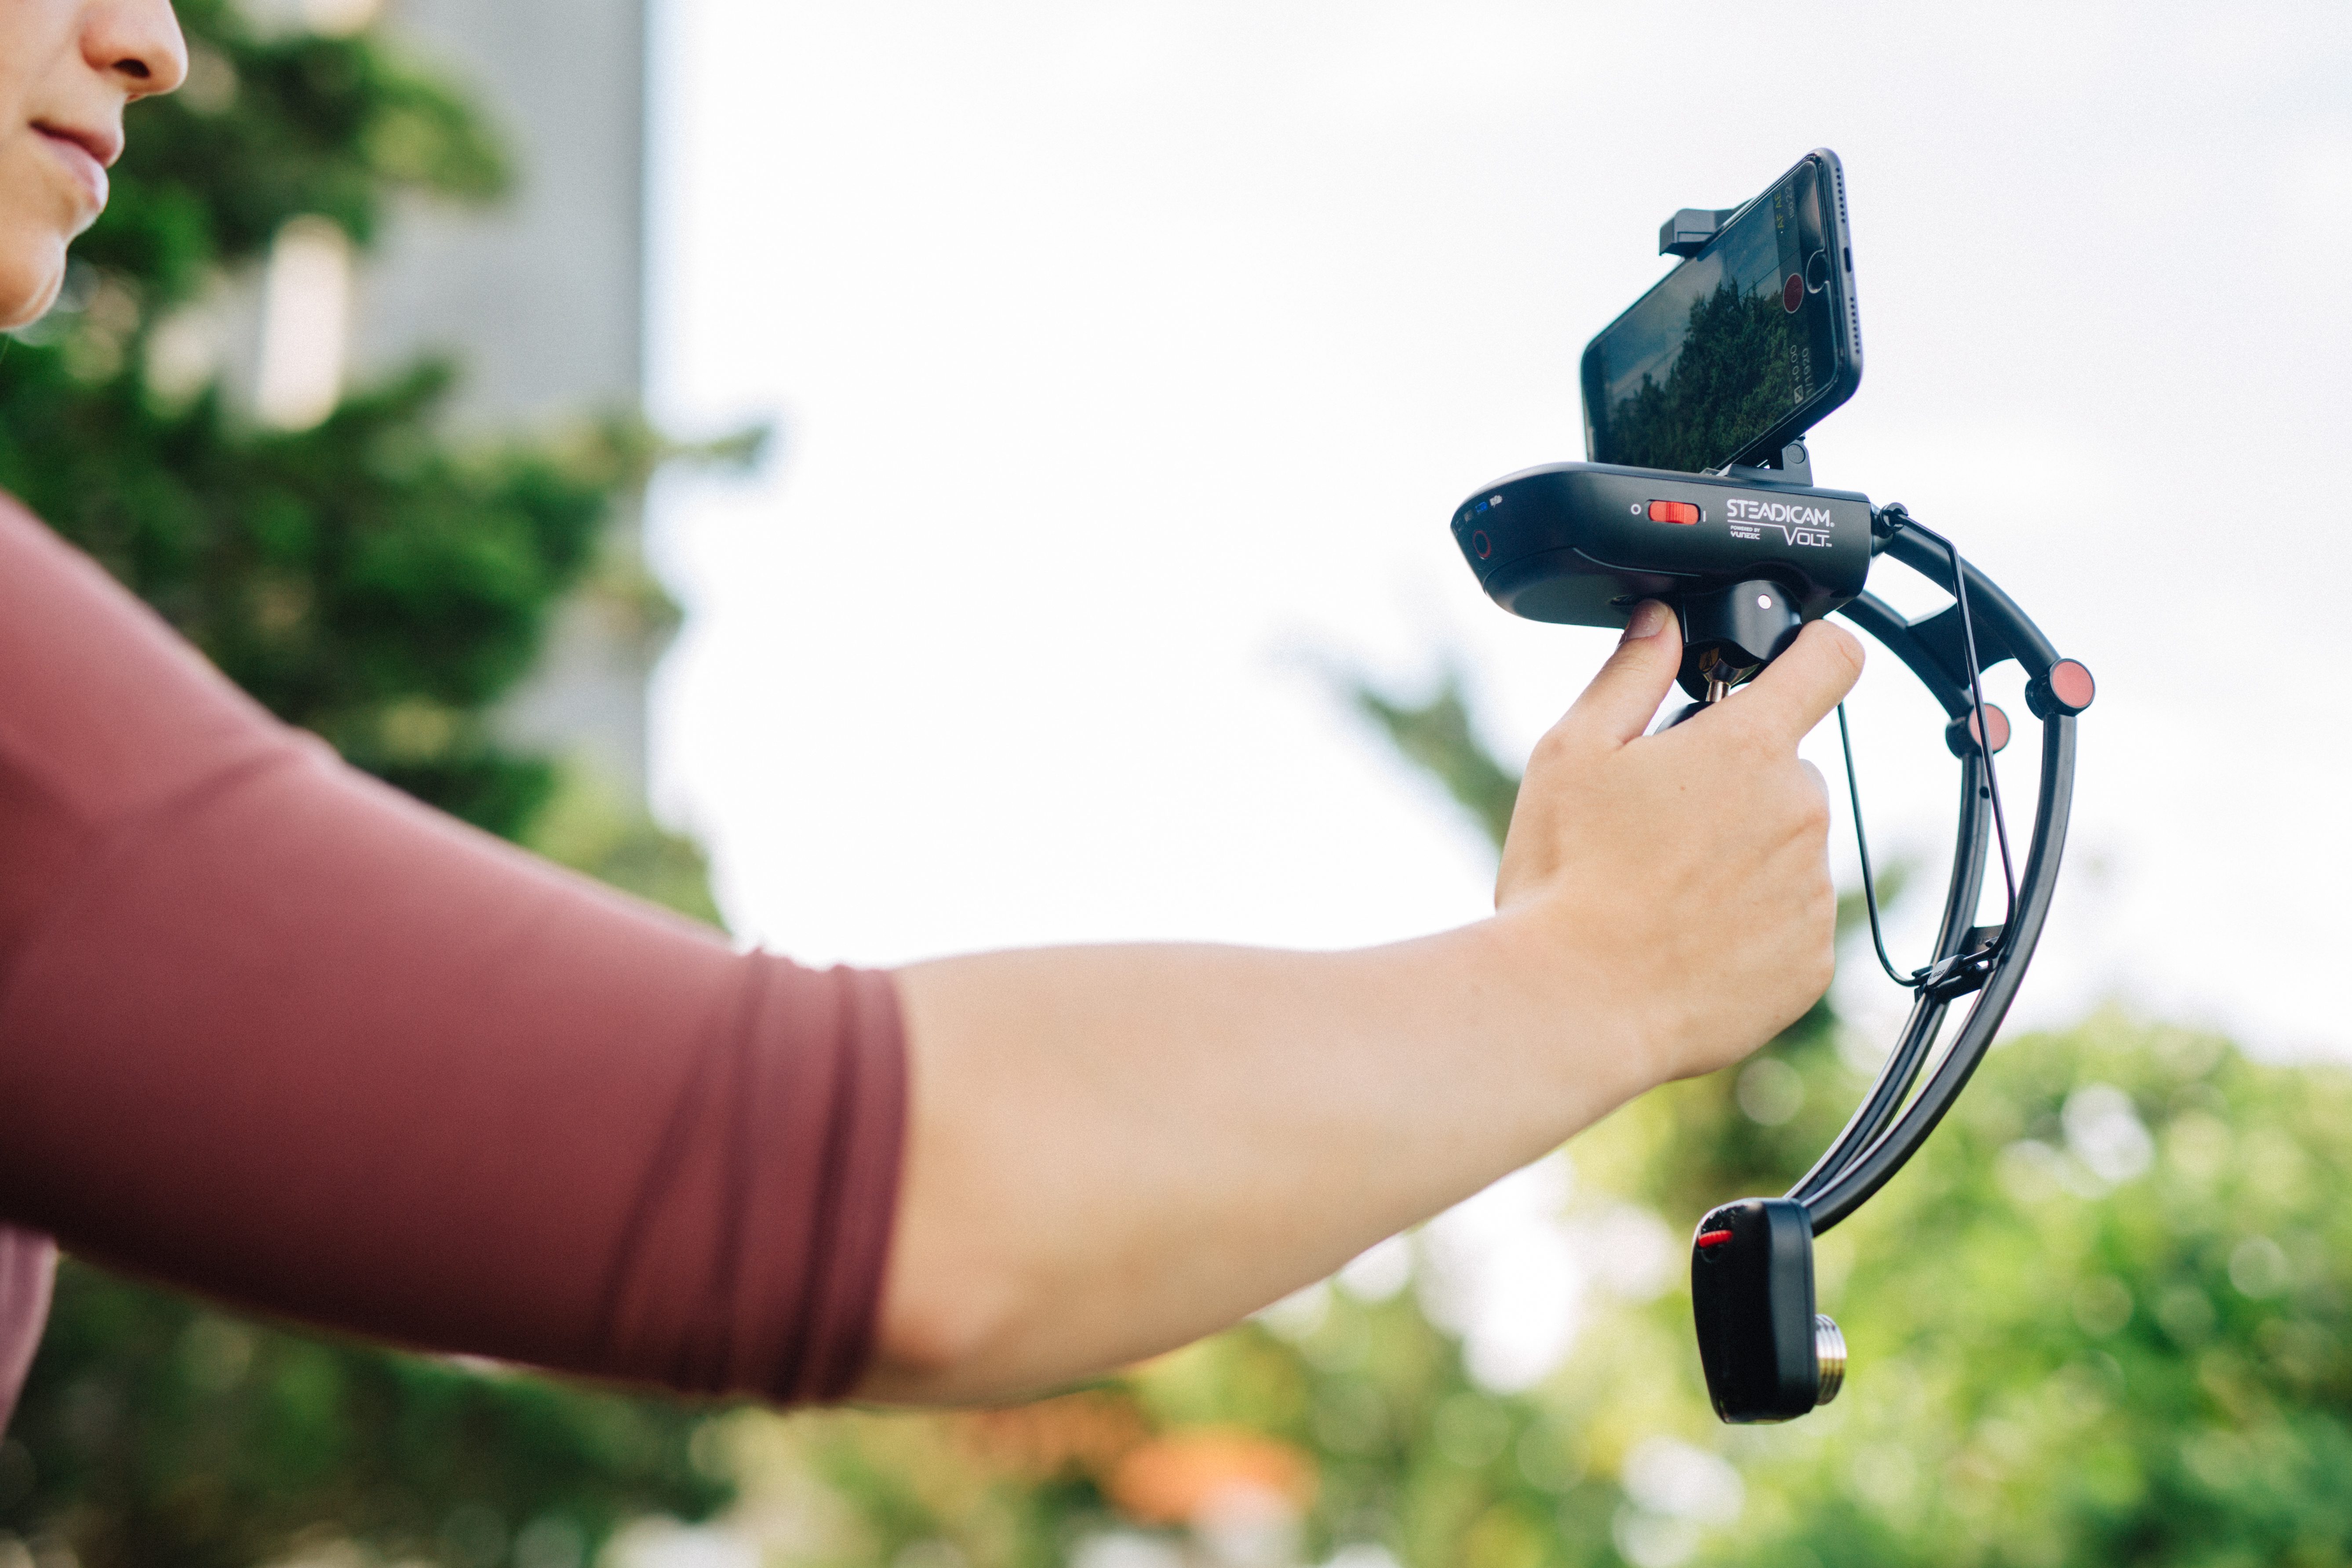
Tiffen Steadicam Volt
Aside from learning great holiday photo taking tips and checking out some really cool photo gear, all attendees were also lucky enough to go home with an incredible Tiffen Steadicam Volt to help us capture our best videos.
The Tifften Steadicam Volt was engineered to provide the utmost precision and control. It enables smartphone users to capture high-quality video content with ease. As a 3- axis smartphone stabilizer, the Steadicam Volt mimics the feeling and operation style of a traditional Steadicam rig, putting Hollywood film technology in the palm of your hand.
And because this momma is always using her smartphone to capture our family’s every moment, I can really appreciate all the great features of the Tiffen Steadicam Volt. Now I just can’t wait to begin using it everywhere we go!
Reasons Why I love the Tifften Steadicam Volt
- Accommodates phone sizes with or without a case from 100g – 250g in weight and 58mm to 85mm.
- Lightweight and folding design enables easy storage and transportation
- Accompanying iOS & Android APP allows for precise balance and tuning
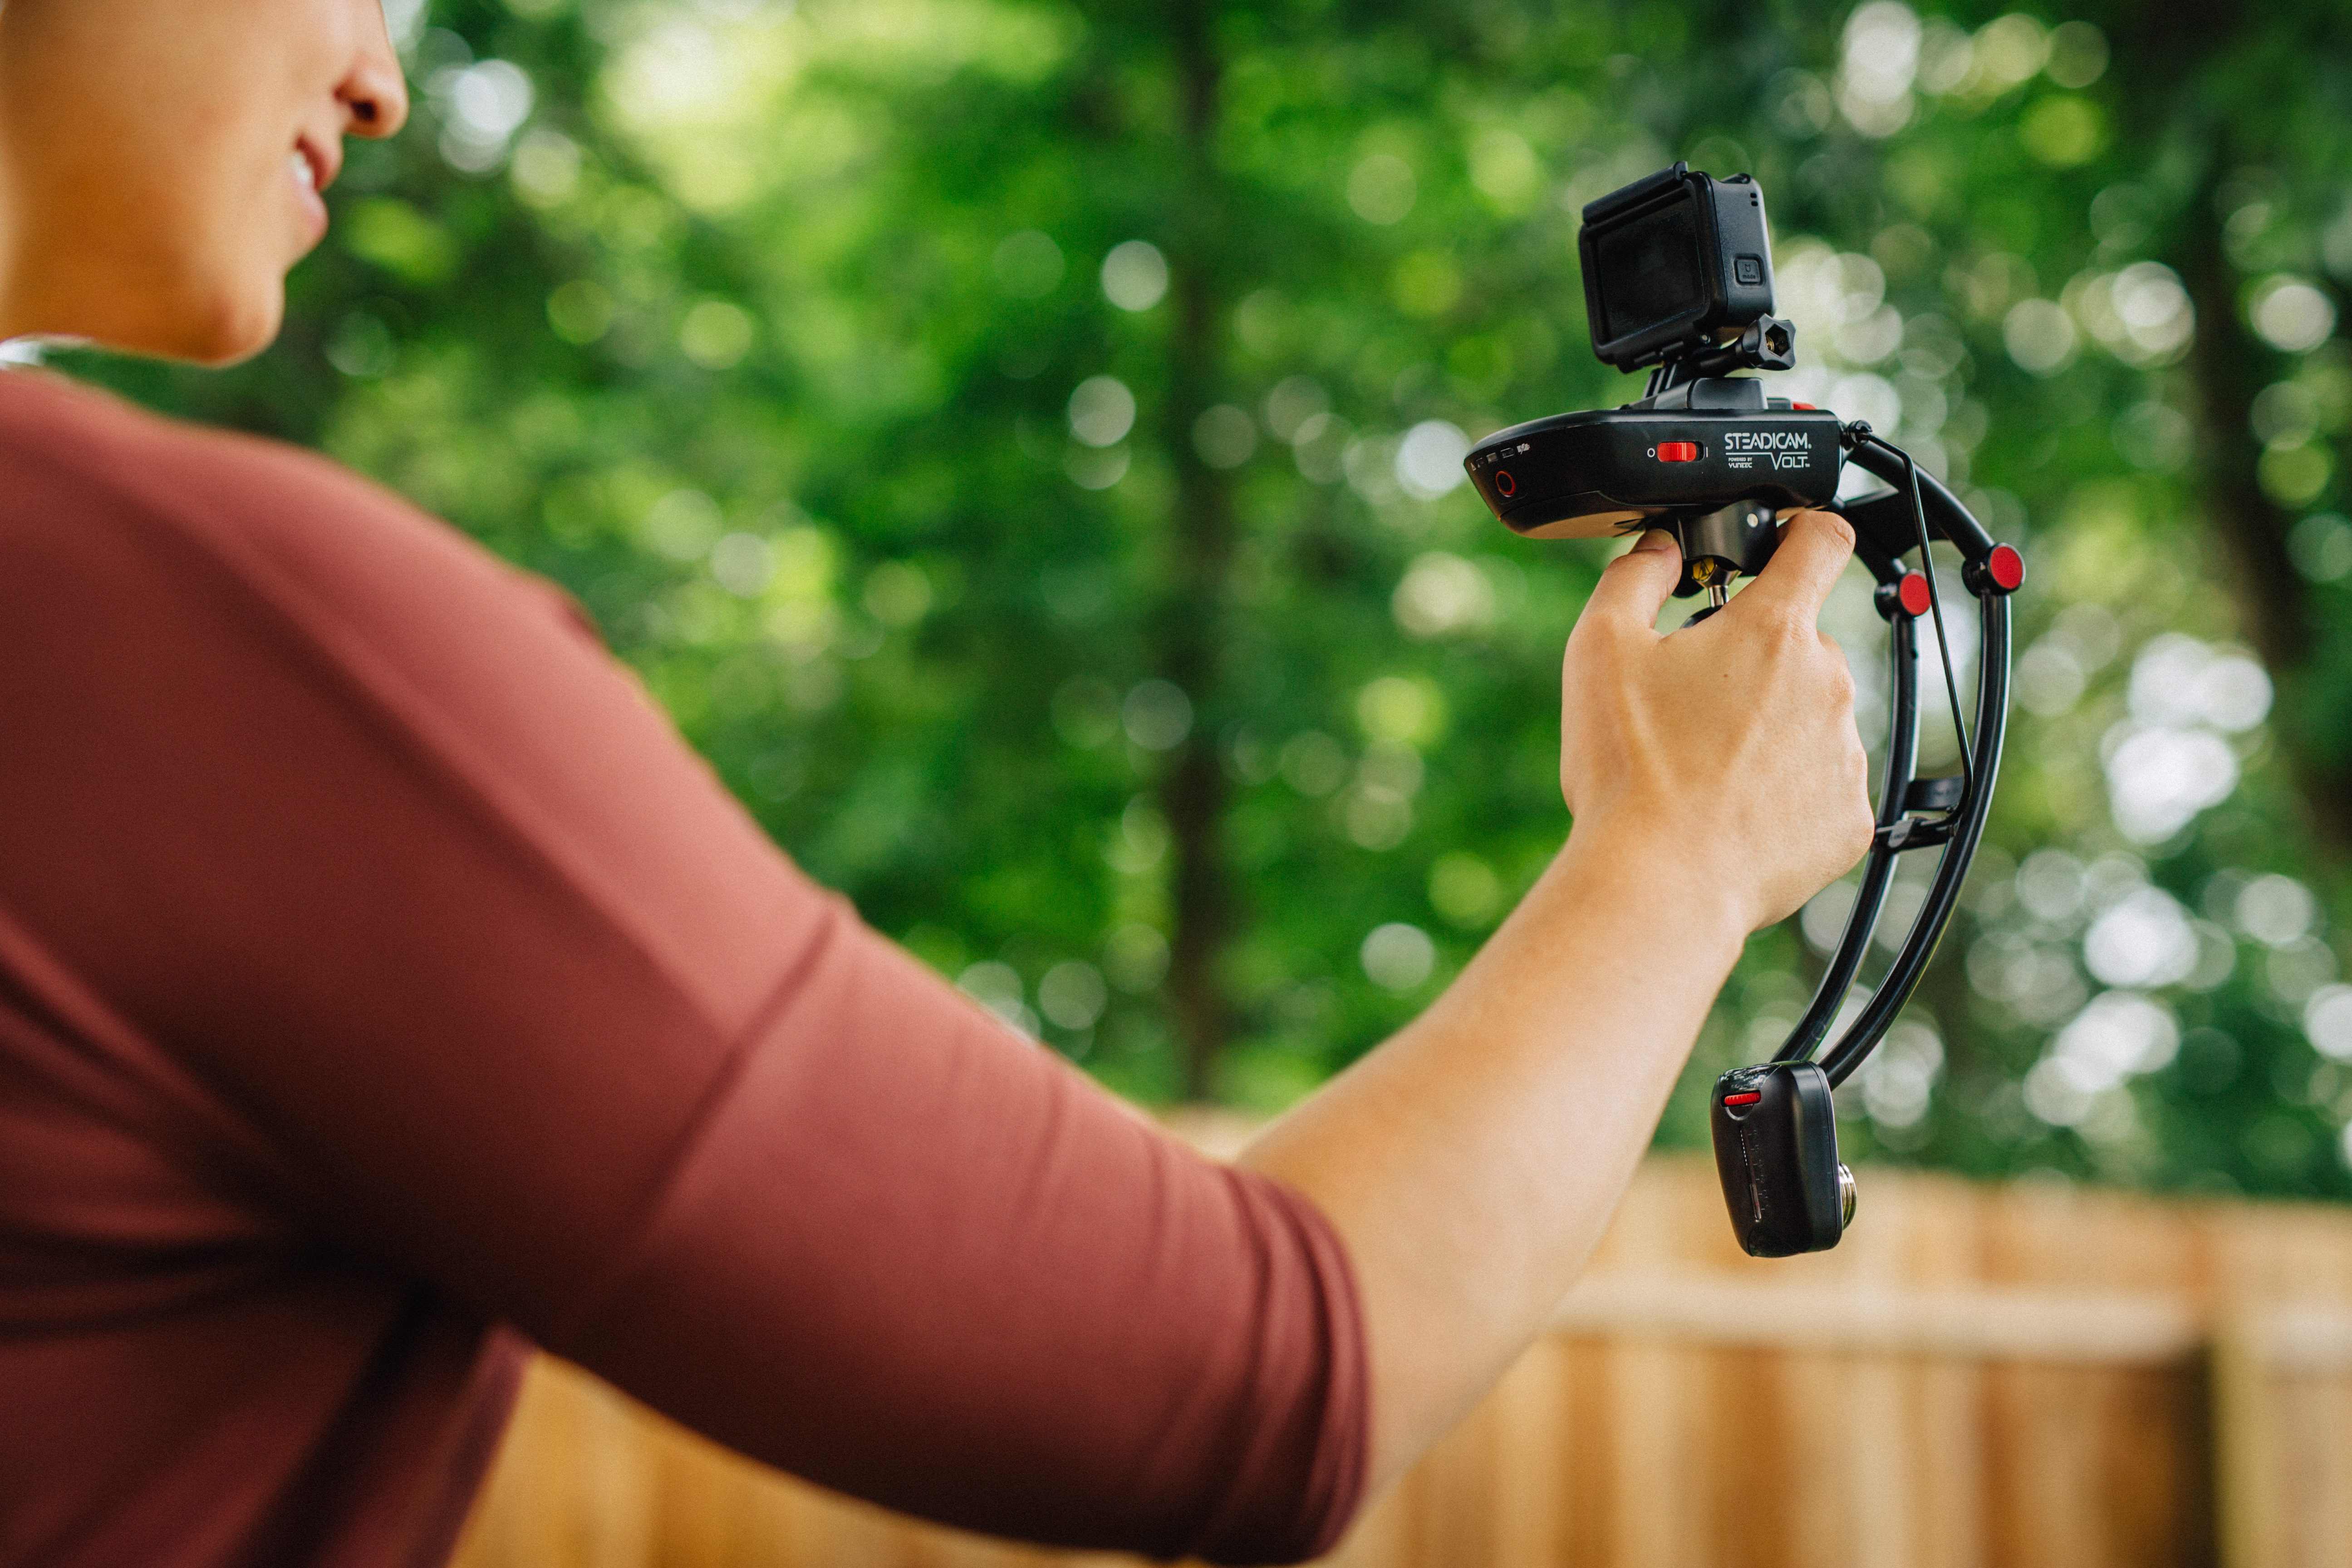
Perfect for vlogging and action sports filming, the Steadicam Volt is an essential tool for on the go smartphone filmmaking and photography. This gadget works great with a smartphone but also works with a GoPro which makes it an even greater option for vloggers and those looking to capture action shots. The Tiffen Steadicam Volt currently retails for $199.
This media event was great! Huge thanks to Techlicious and CTA for having me. And also a big shout out to blogger extraordinaire Danielle Wilson who worked her magic to put this great event together and make it an intimate experience for all who attended! It was an honor to attend and I loved learning how to improve my photography skills. Now I feel holiday ready!
I’m sure you also learned something new from these holiday photo taking tips!
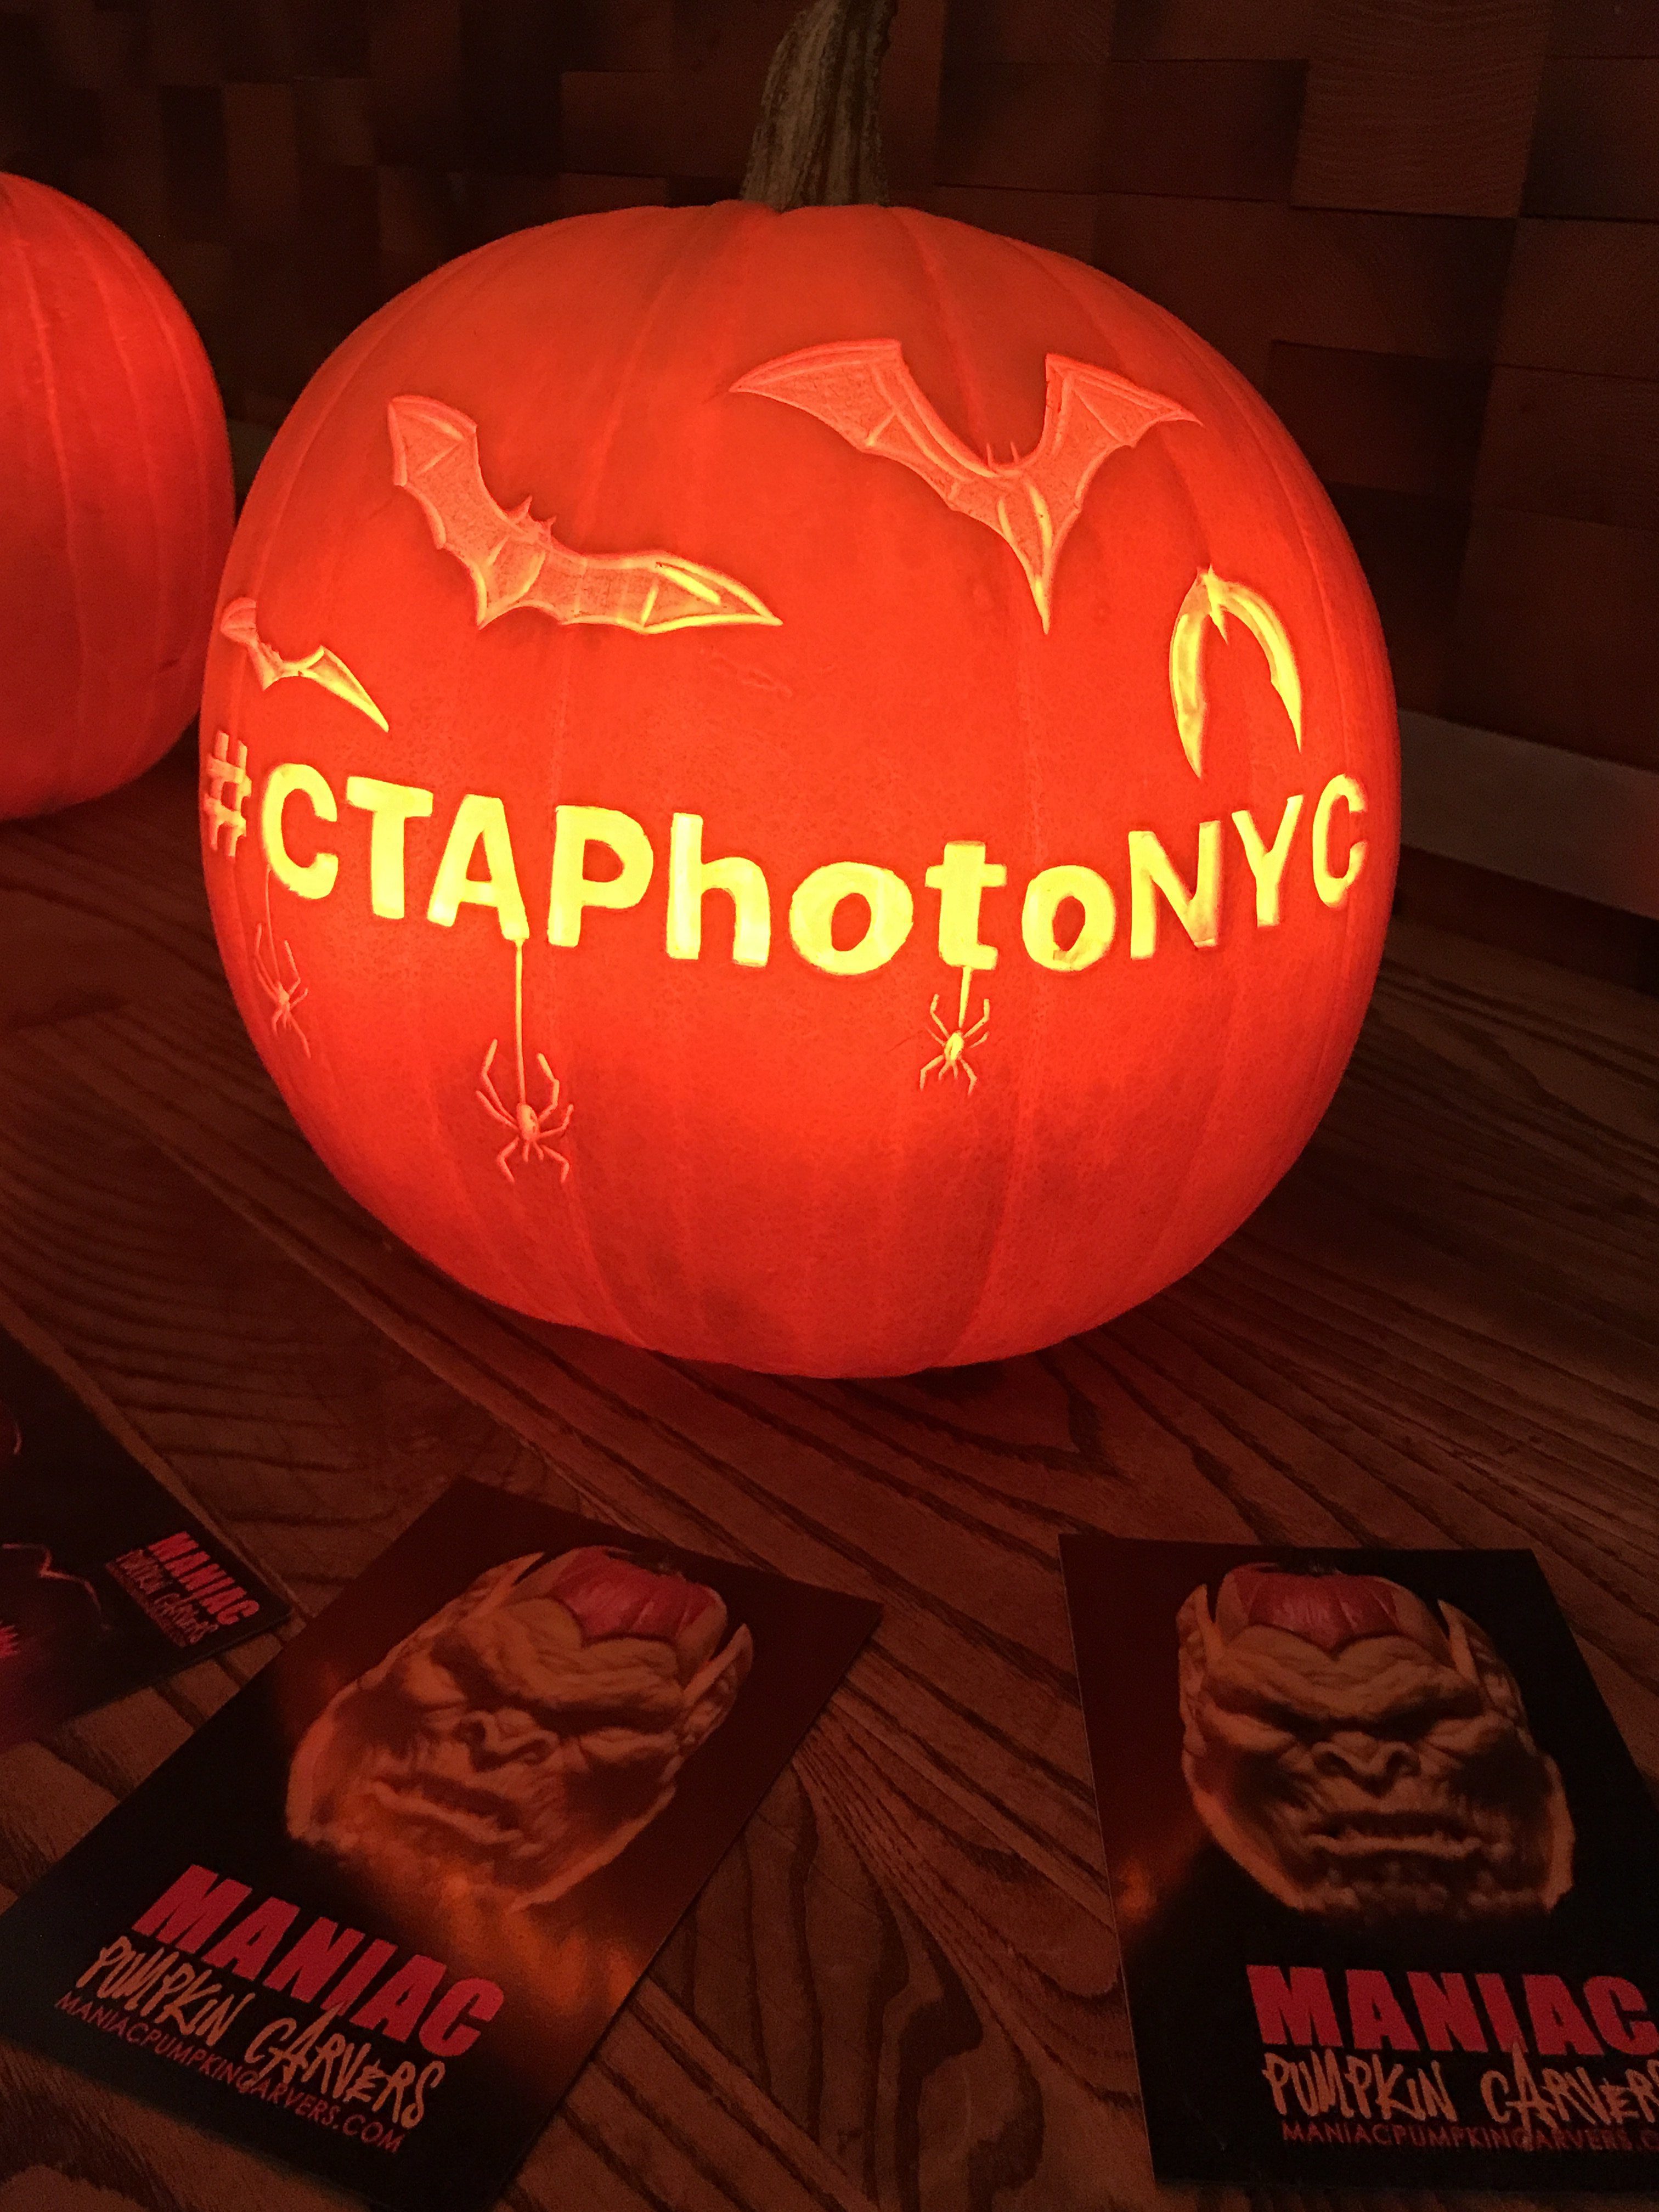
And how cool are those jack-o-lanterns above? They were carved out by Maniac Pumpkin Carvers specifically for this media event. A great way to help us get into the Halloween spirit. However, I’m already in Christmas mode. Can you believe the holidays will be here in less than eight weeks?! Are you holiday ready?

Do you have any holiday photo taking tips of your own? Share them with us in the comments section below!
RELATED POST
Photo Backup: Help her back up her life with the best tech gifts for your mom


One Comment
Pingback: